
Two finishes!
Amazingly enough I finished a baby quilt and a class sample this week! Both were easy and straight forward. I deliberately created space this summer to be teaching-free and I’m trying to get as much done as possible.
I worked really hard on my abstract class this week and I just don’t have time to create a post about that now. I also attended the California State Fair last week and I have a bunch of great photos of mainly art from that. A photo-heavy post takes a lot of time so I’m waiting on that also. And, I’ve promised many of you that I will write about…..shoes!
On to the baby quilt. The grand niece of a woman from my church was born with a genetic abnormality. It truly was a miracle that she was born, and even more so that she was born without many of the difficulties that typically come with the condition. She has had to undergo several treatments and surgeries in the last 18 months and it’s just hard on everyone. She is now 2, but I am calling it a “baby quilt”.
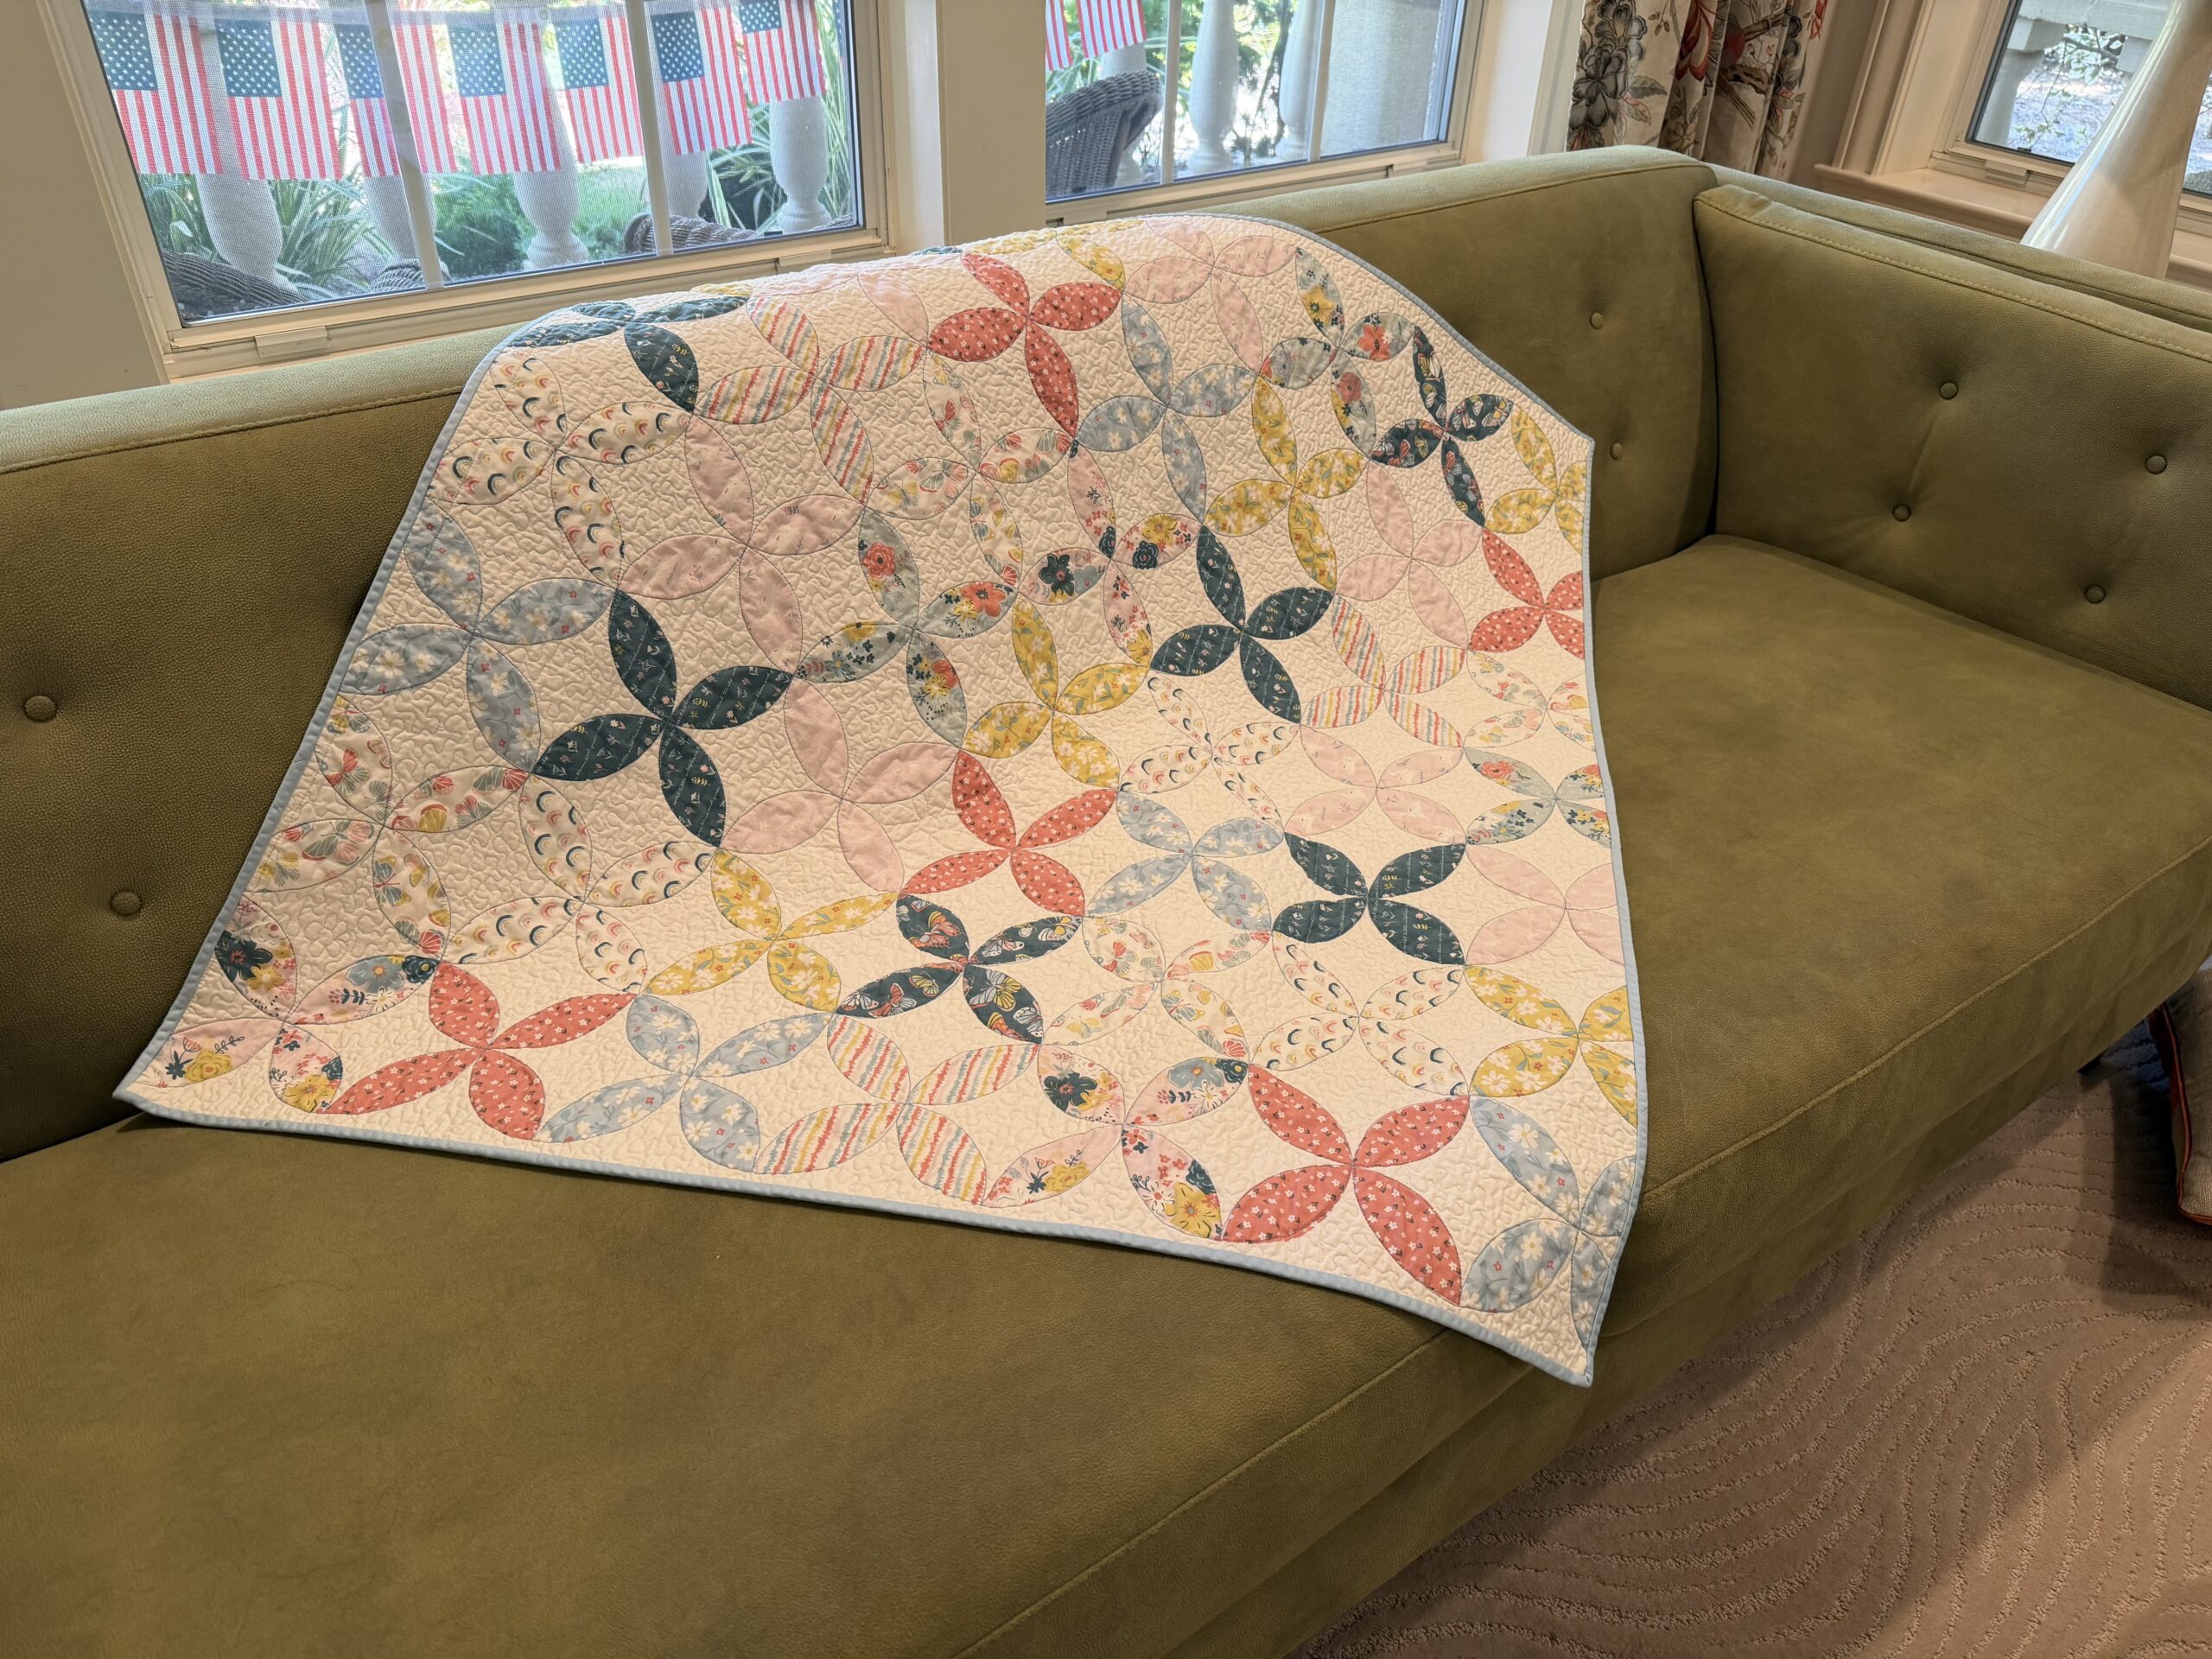
This was made from one of the BEST pre-printed panels ever!
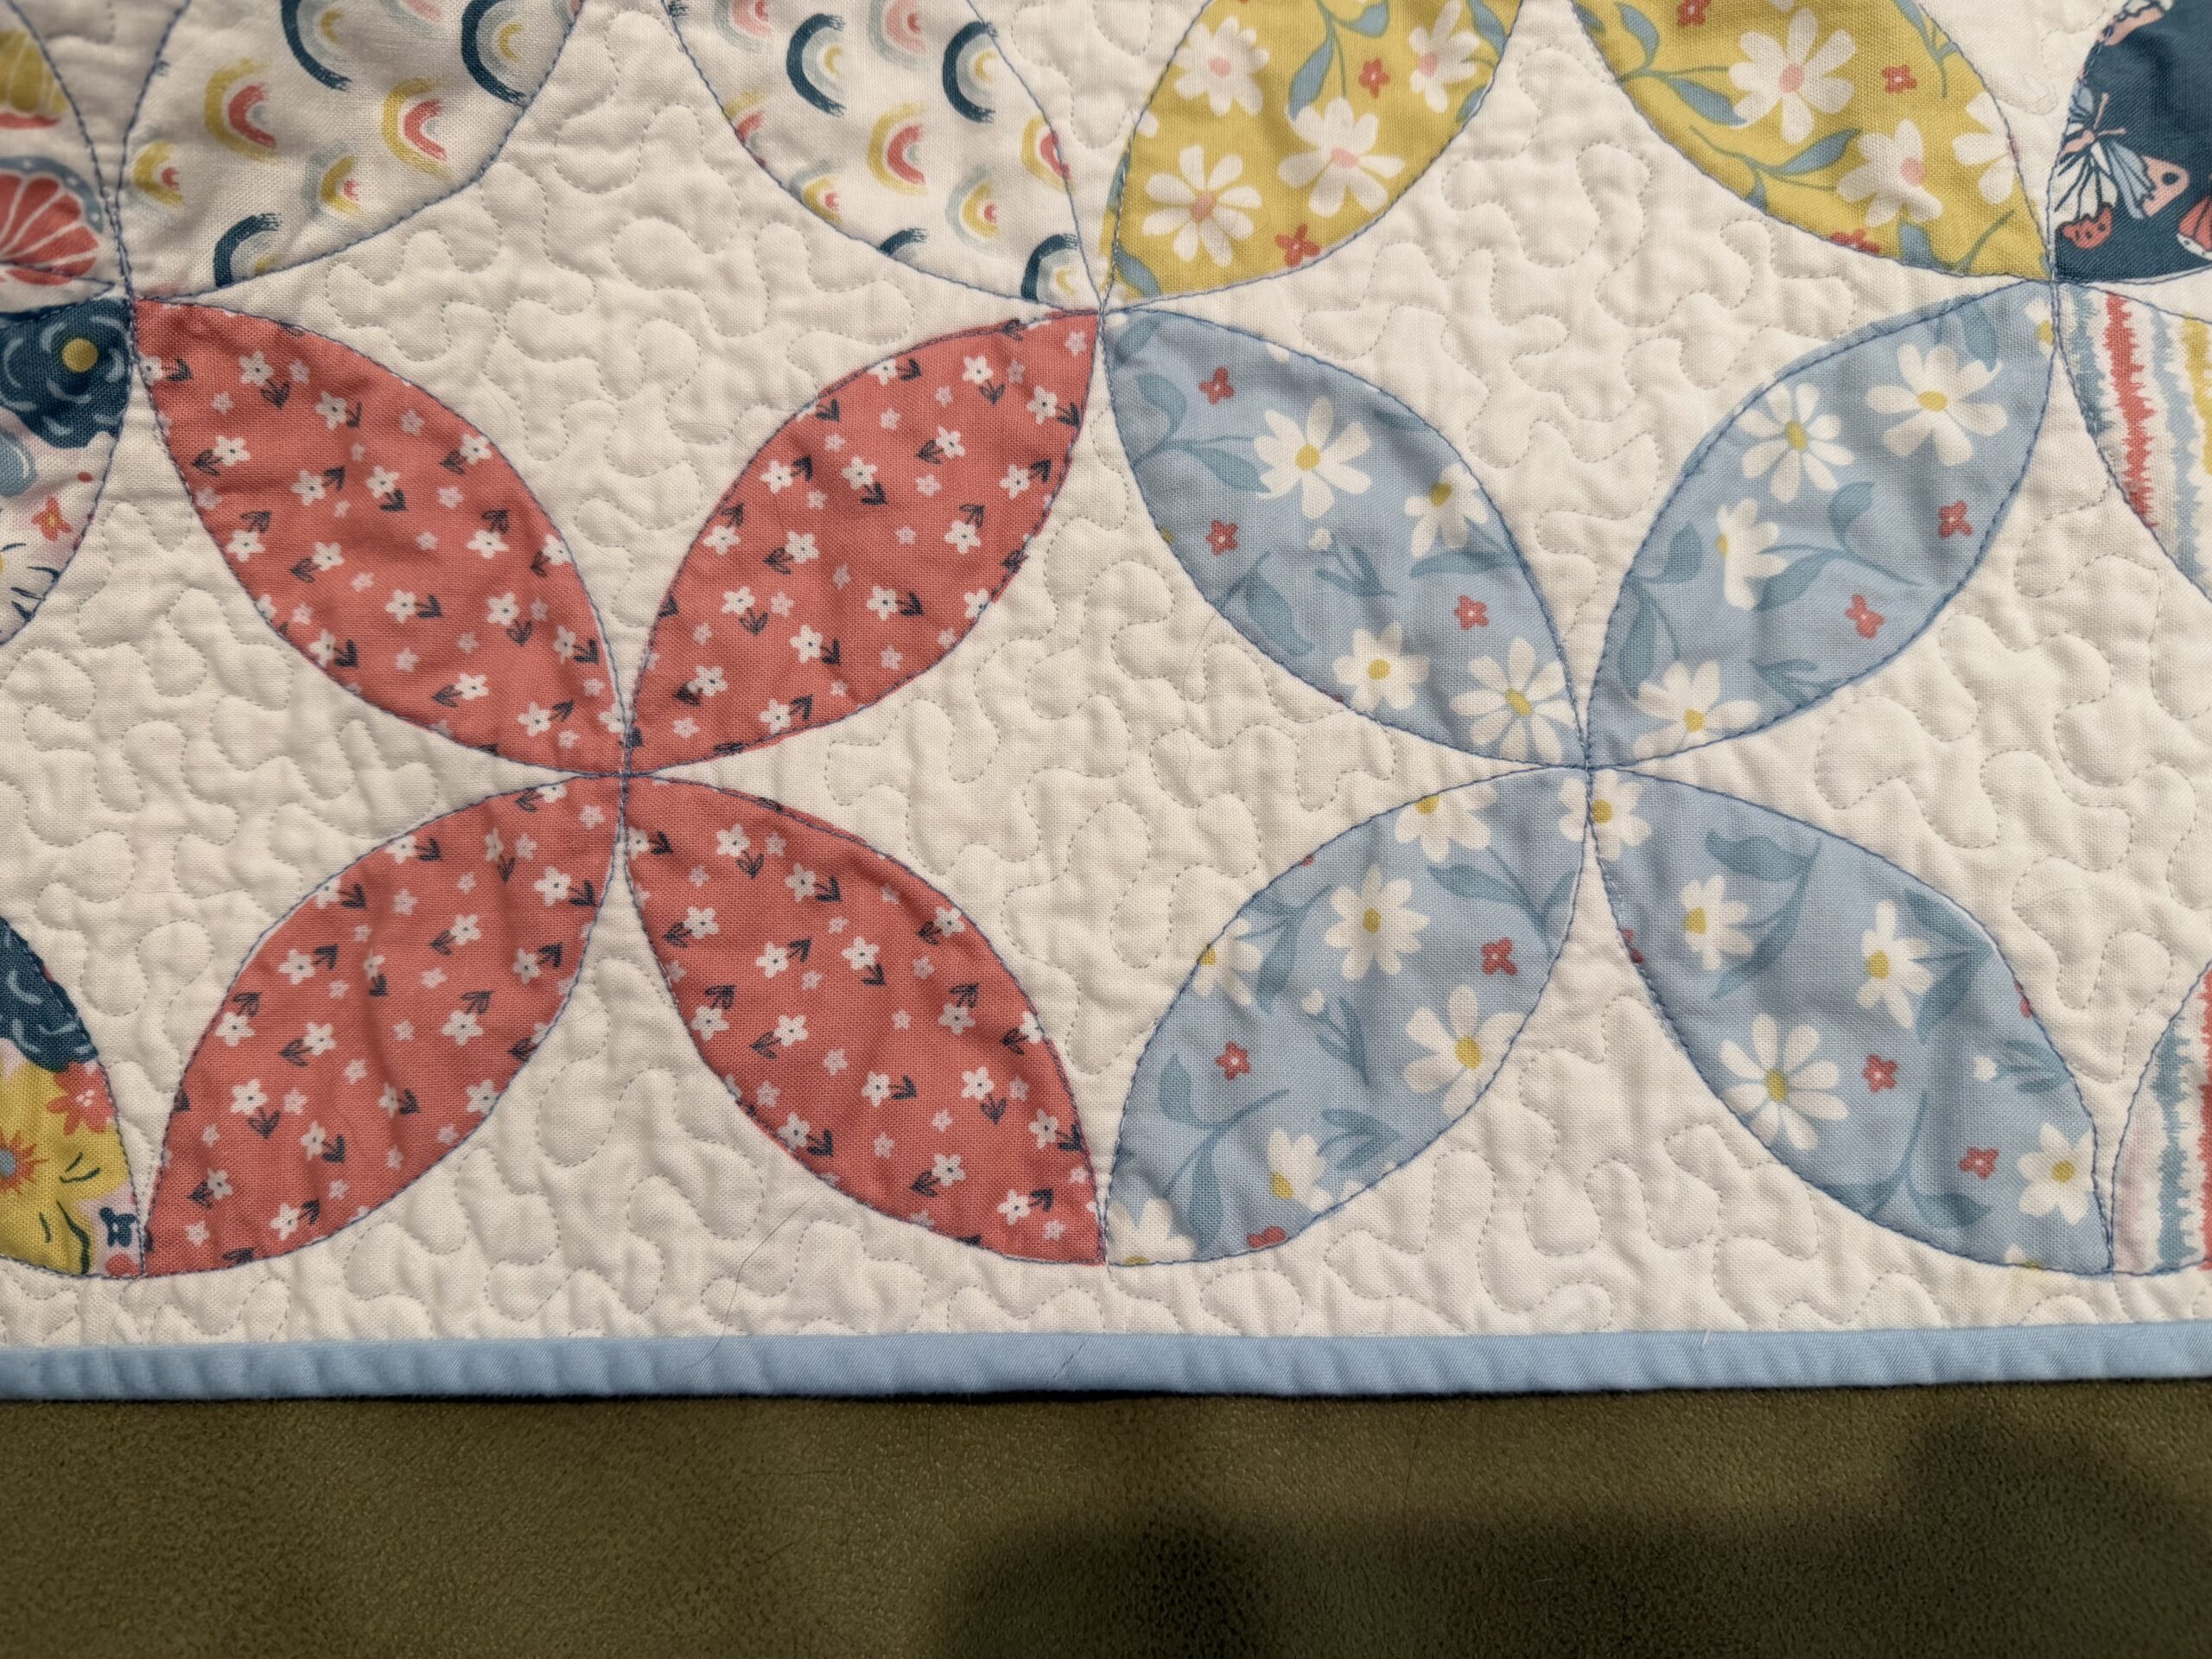
I simply layered it up, outline quilted the petals and stippled the negative space. And it’s so cute! I ordered another 8 yards to have in stock because…..you never know.
I had a boo boo:
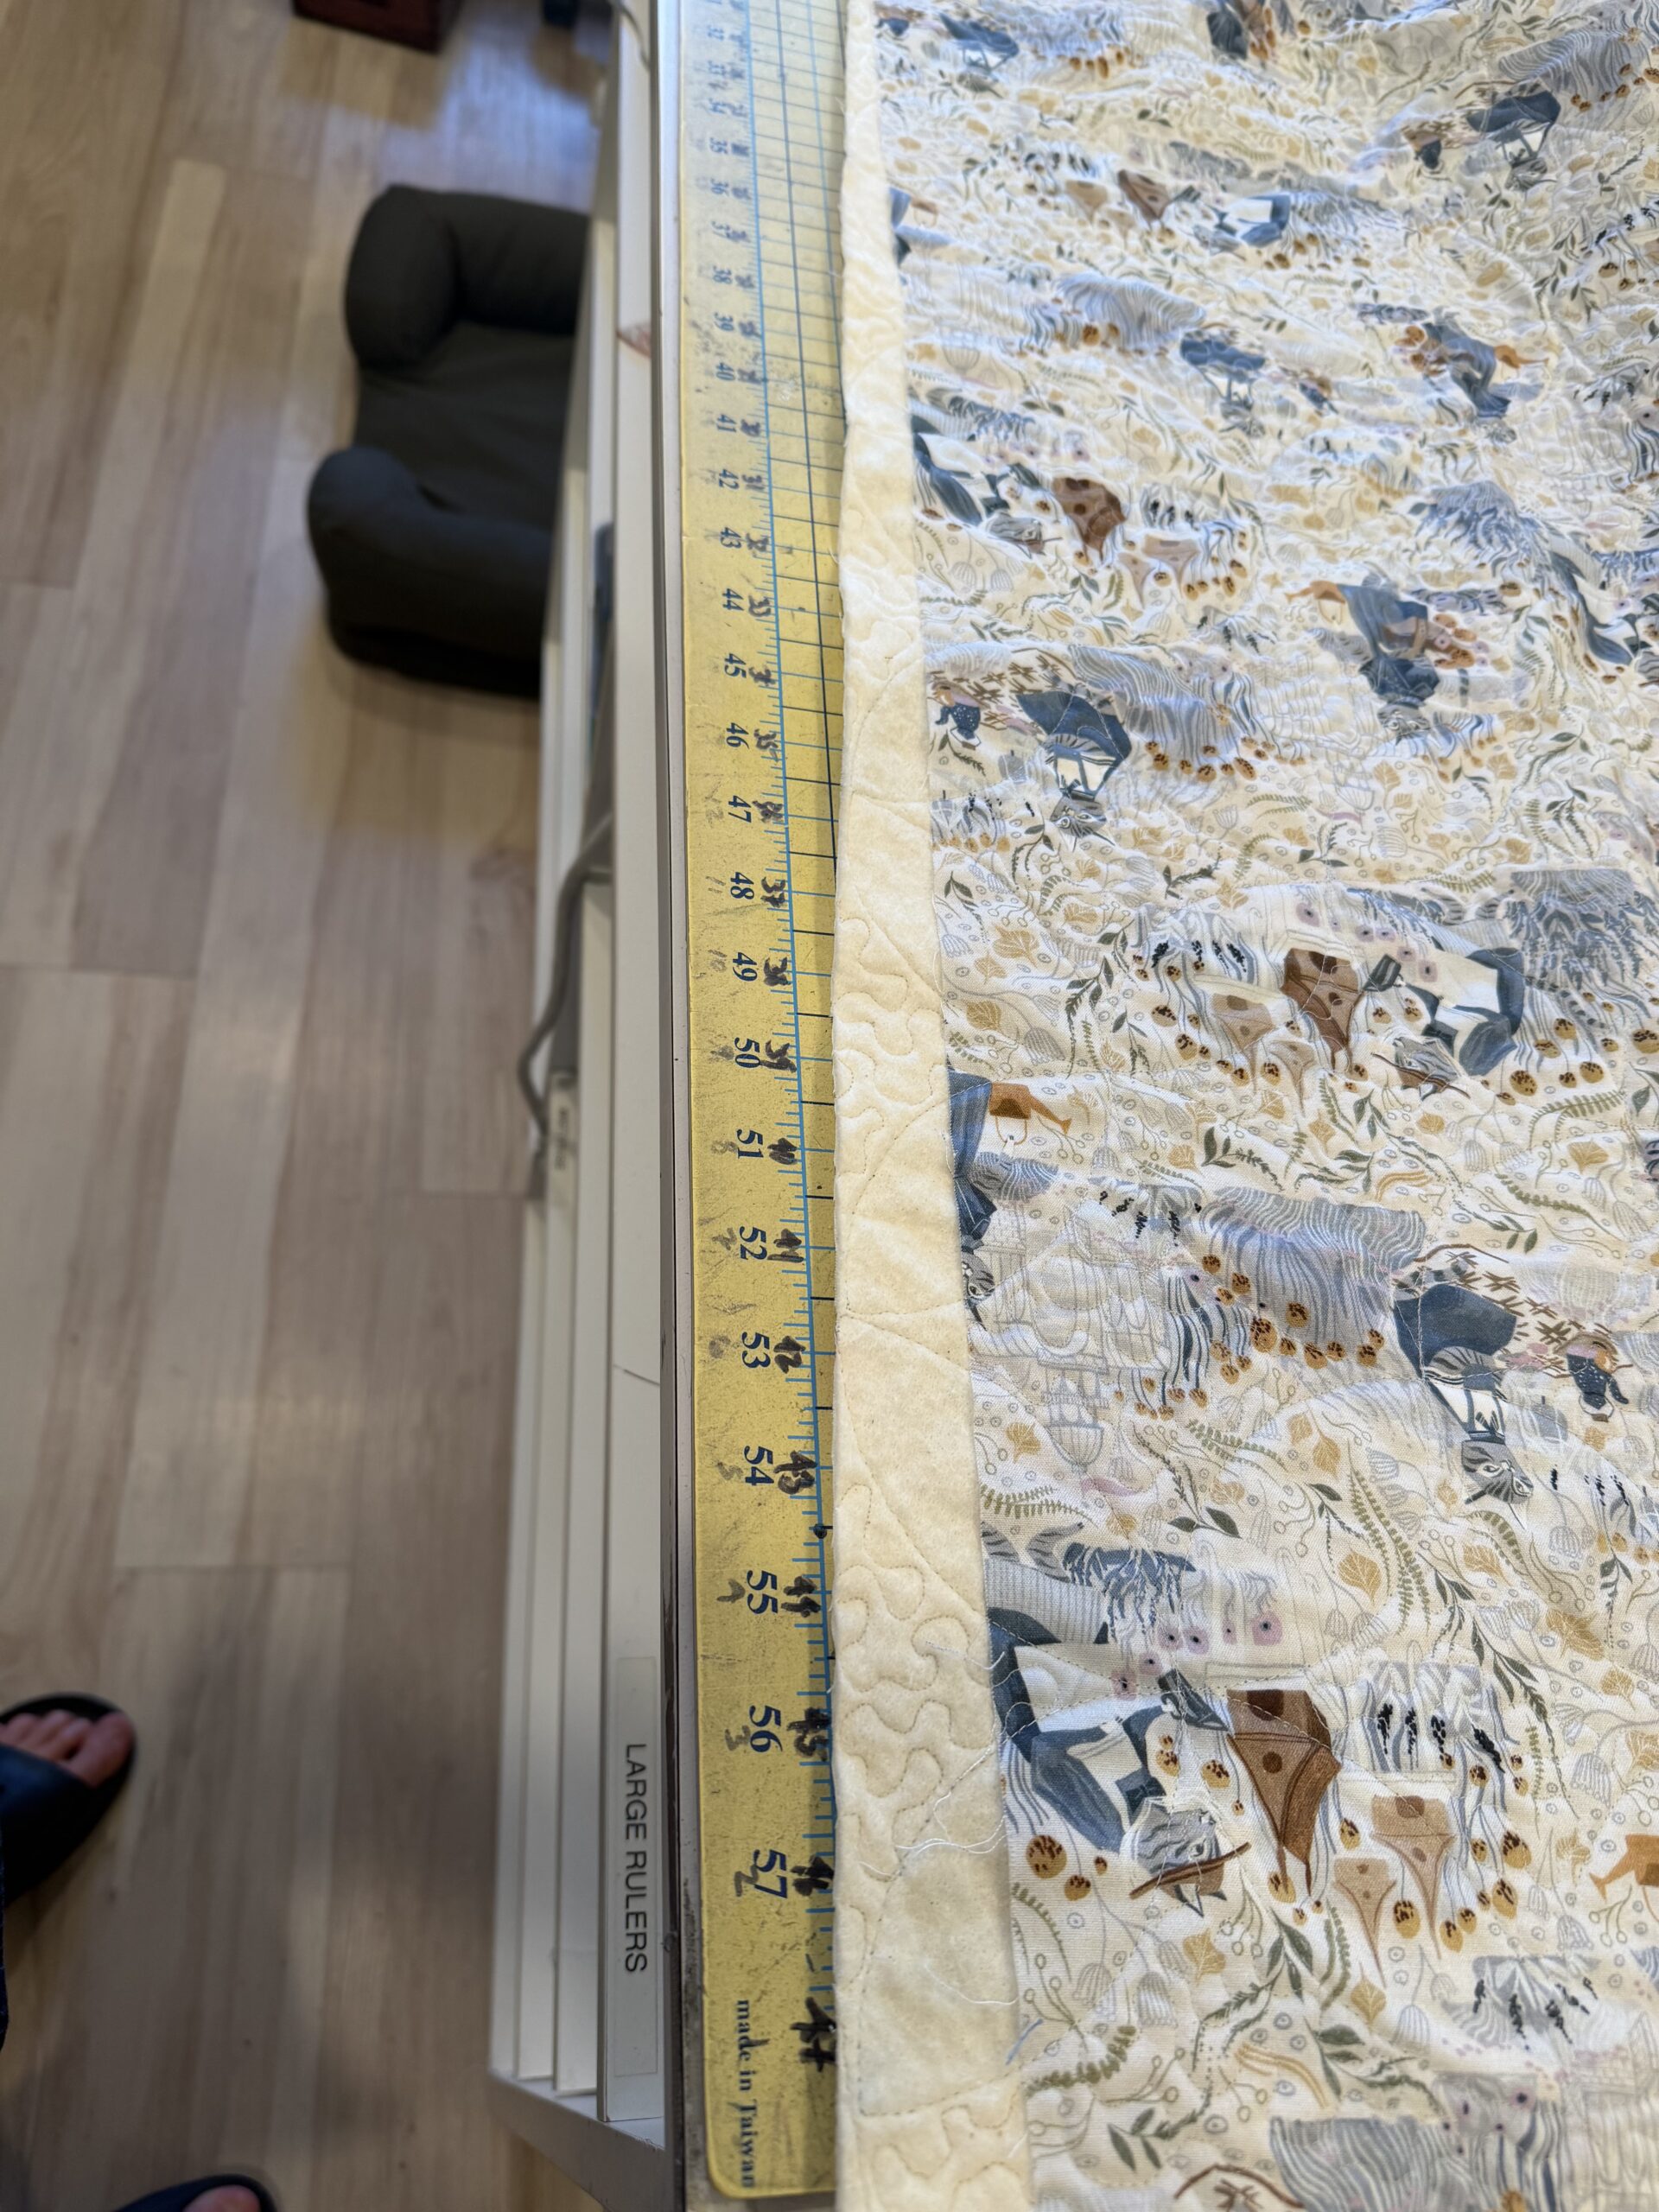
Geez, rookie mistake and I’m no rookie.
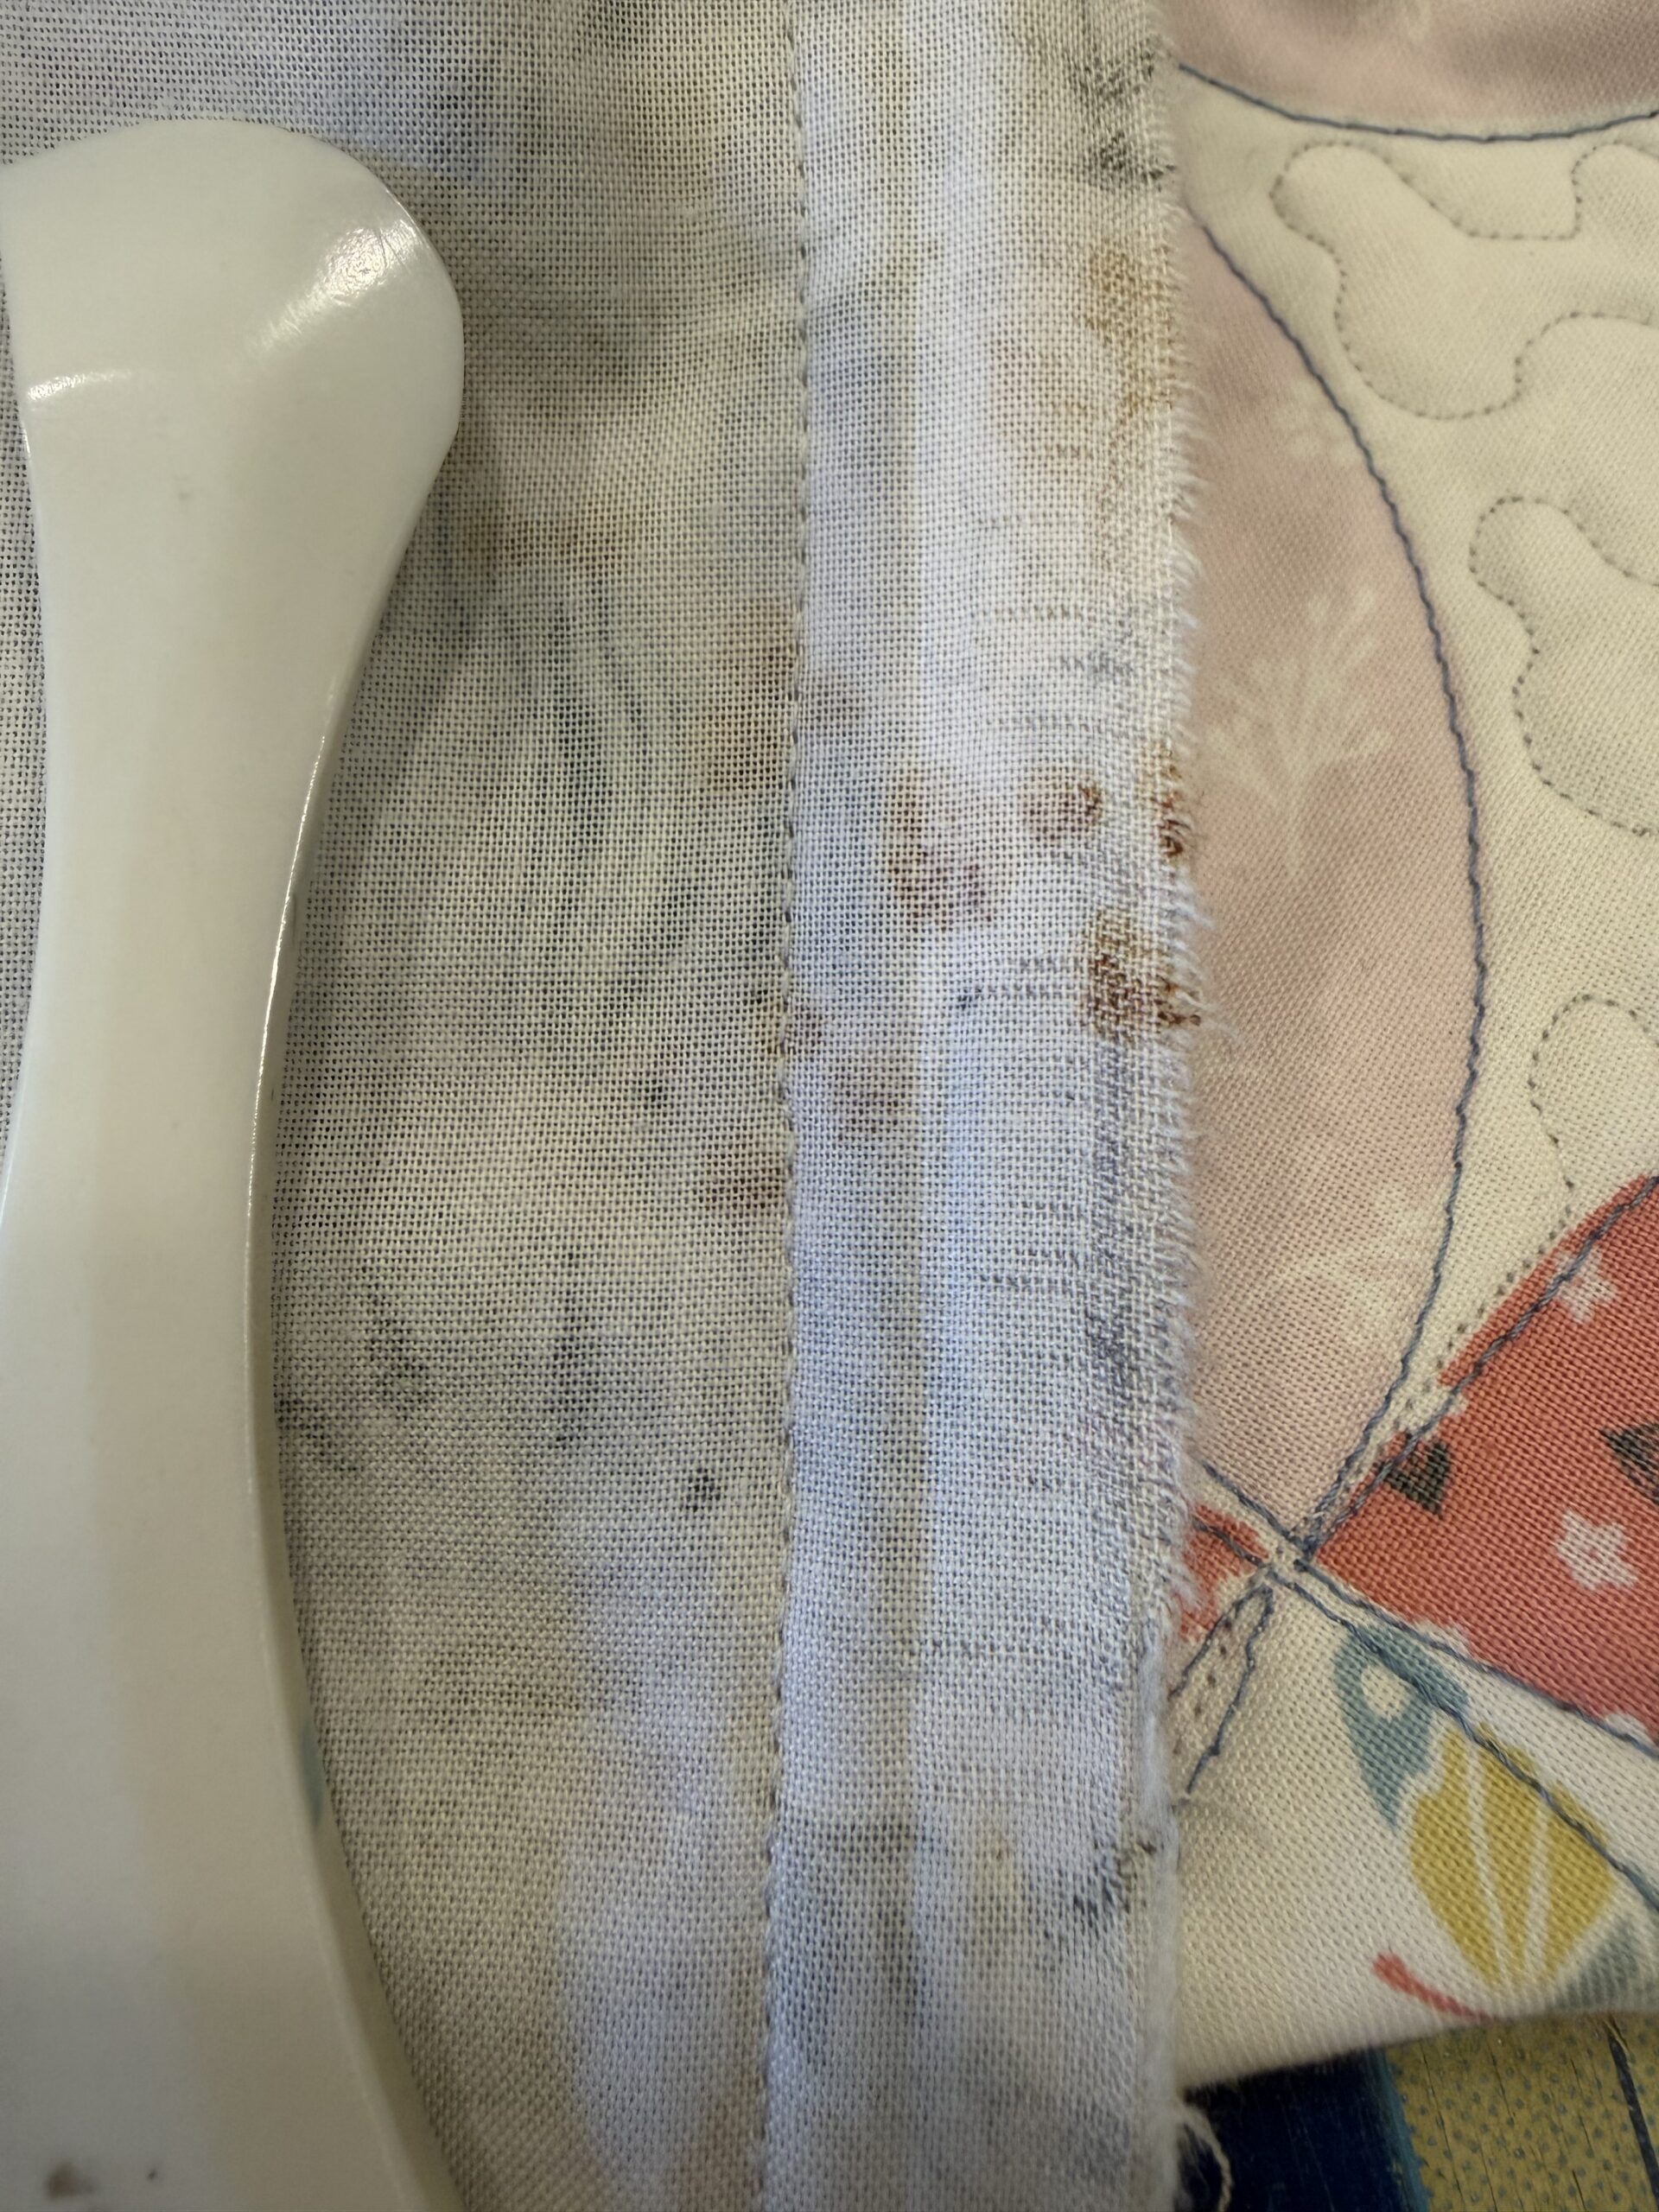
I fixed the exposed batting by sewing another layer of backing right over the offending area and flipping it over to cover. With this busy print you have to look closely to see the area. Whew!
The backing was a super cute print.
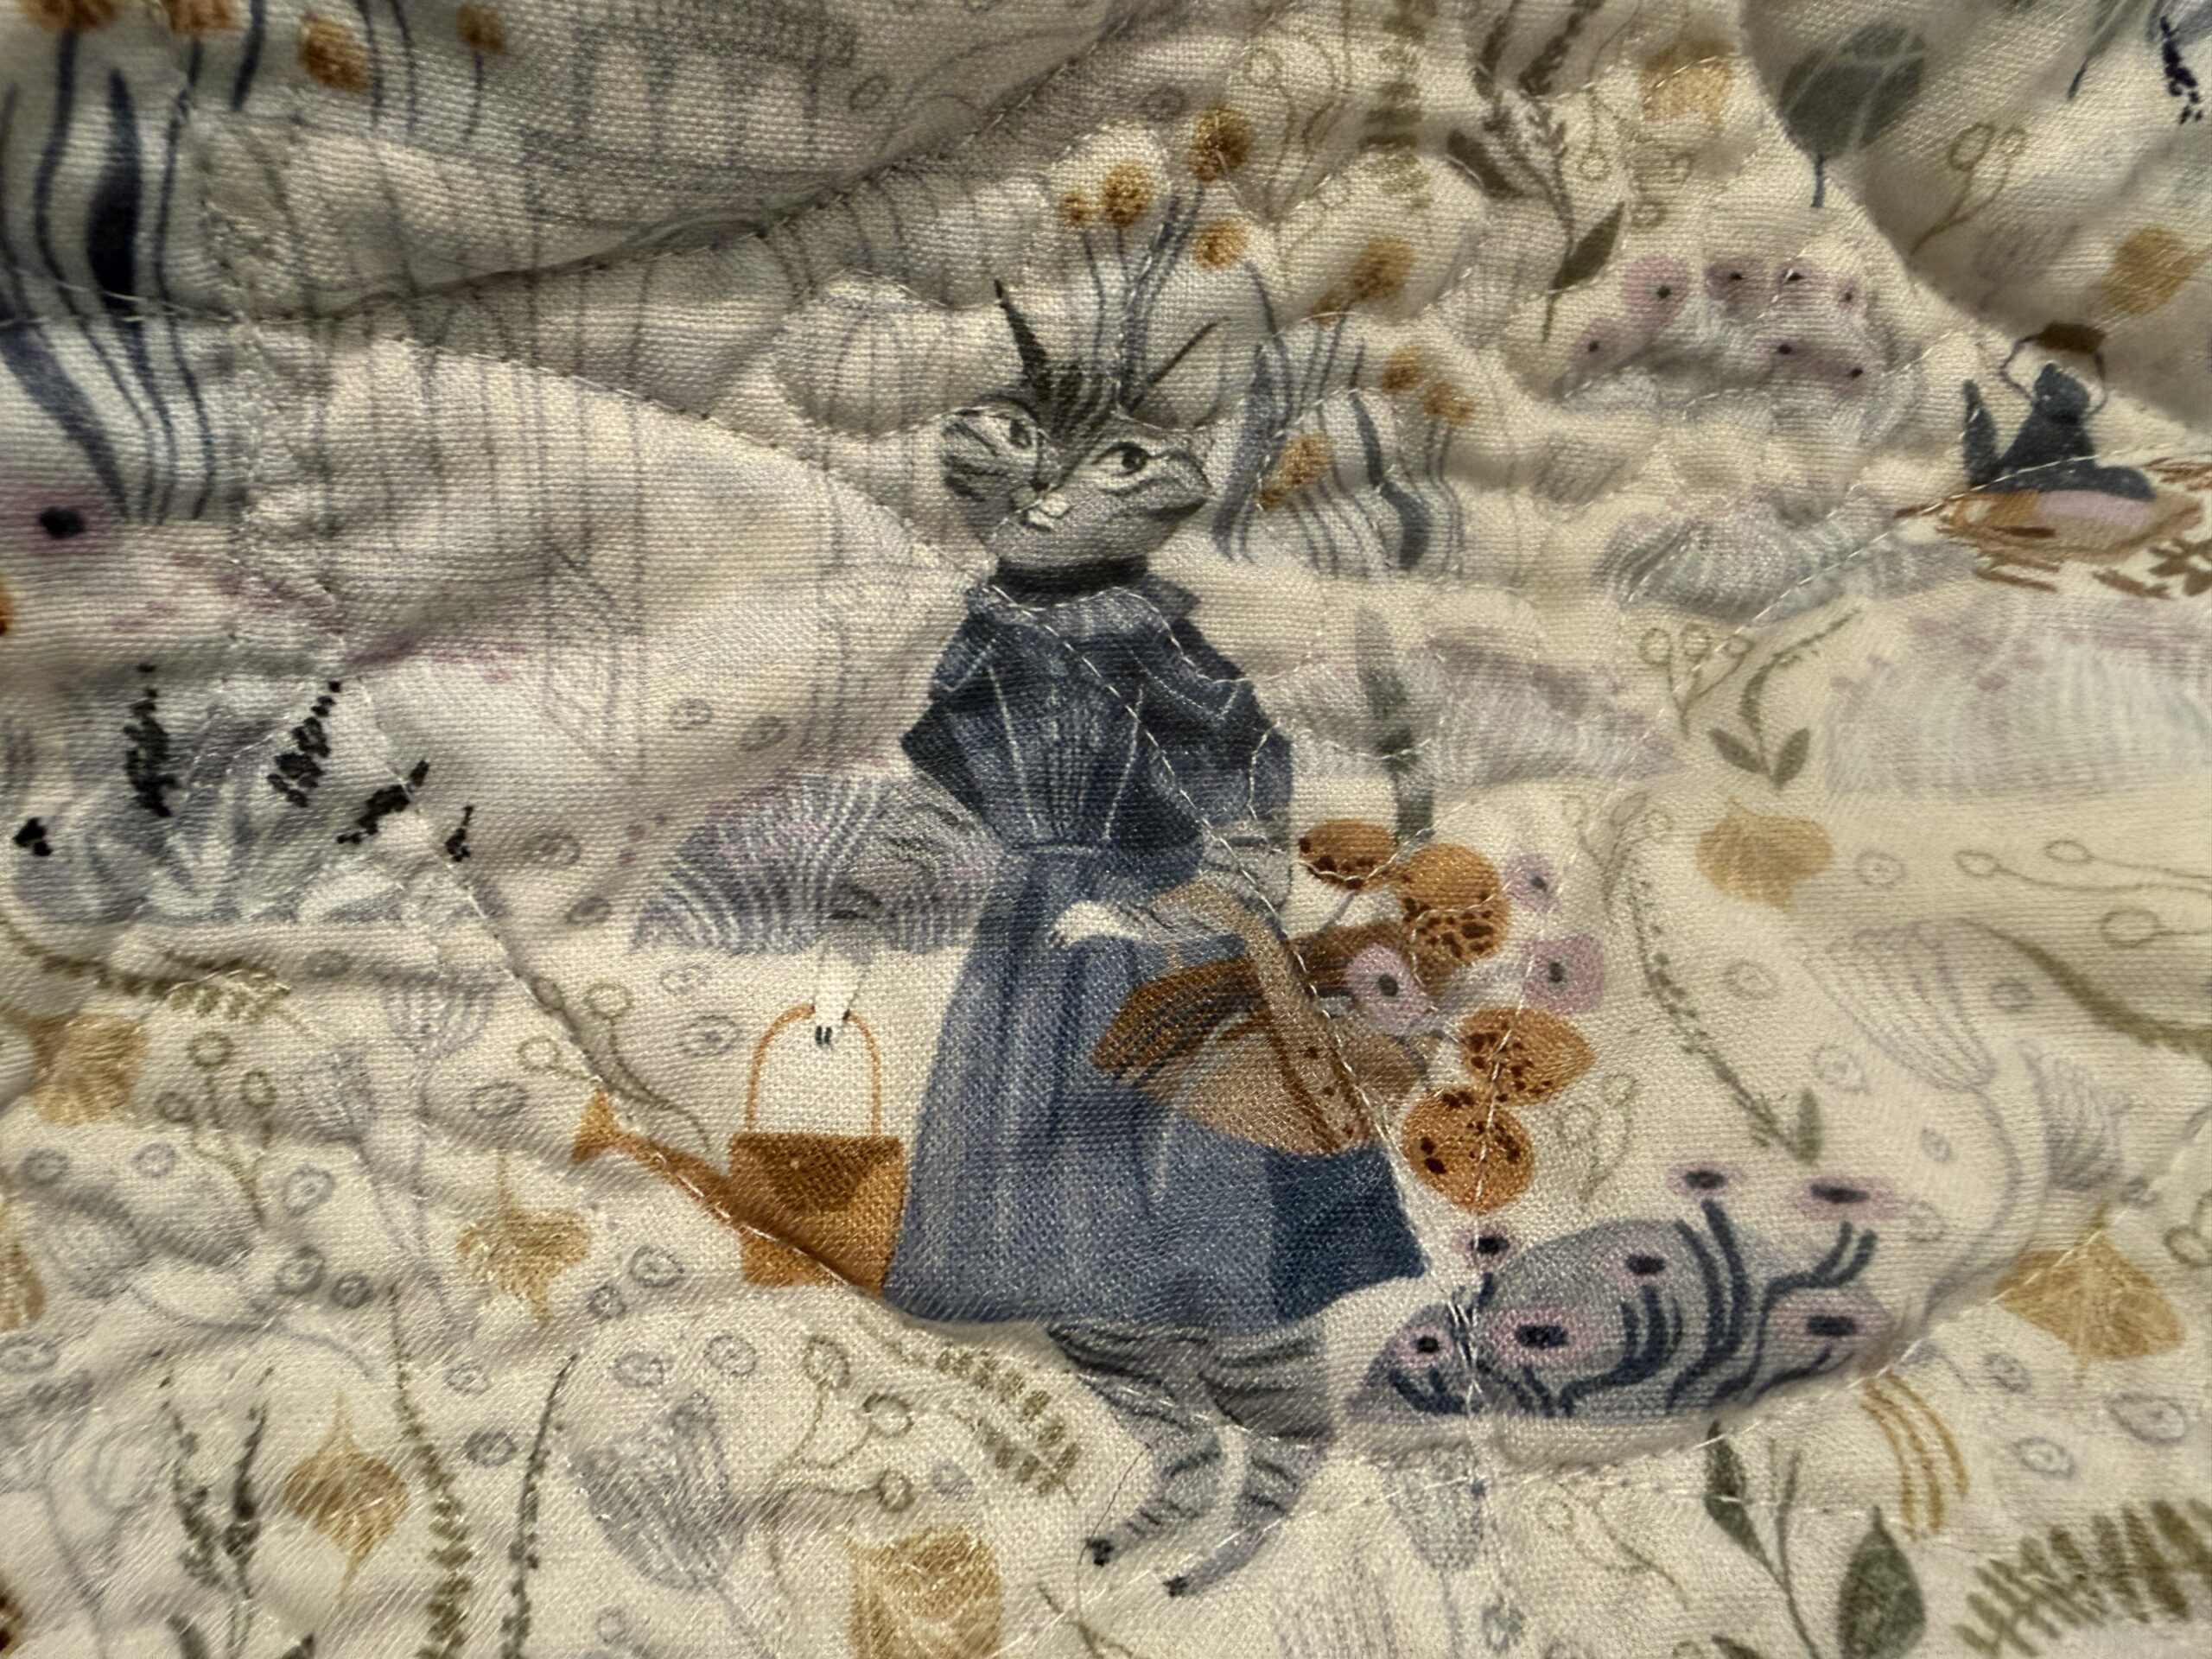
I did not keep track, but I would guess that I was done, including hand finished binding and fixing the mistake, in maybe 7 hours. Pretty good, no?
And, I wanted another class sample for my Straight Line Ruler Work class coming up at AQS Grand Rapids in late August:
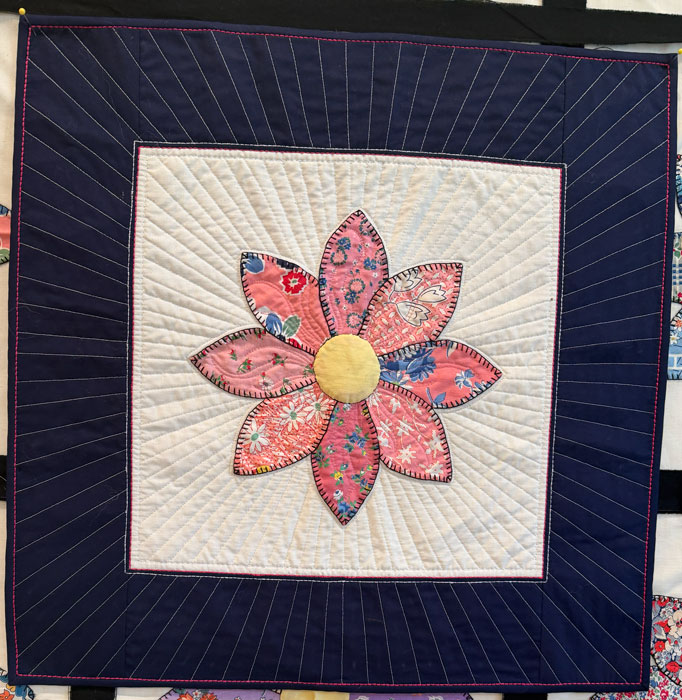
I ordered a set of 24 of those blocks on Etsy as “heirloom” and no way they are heirloom. I kept them anyway. I stole one for this sample as I didn’t want to take the time to create a whole new sample.
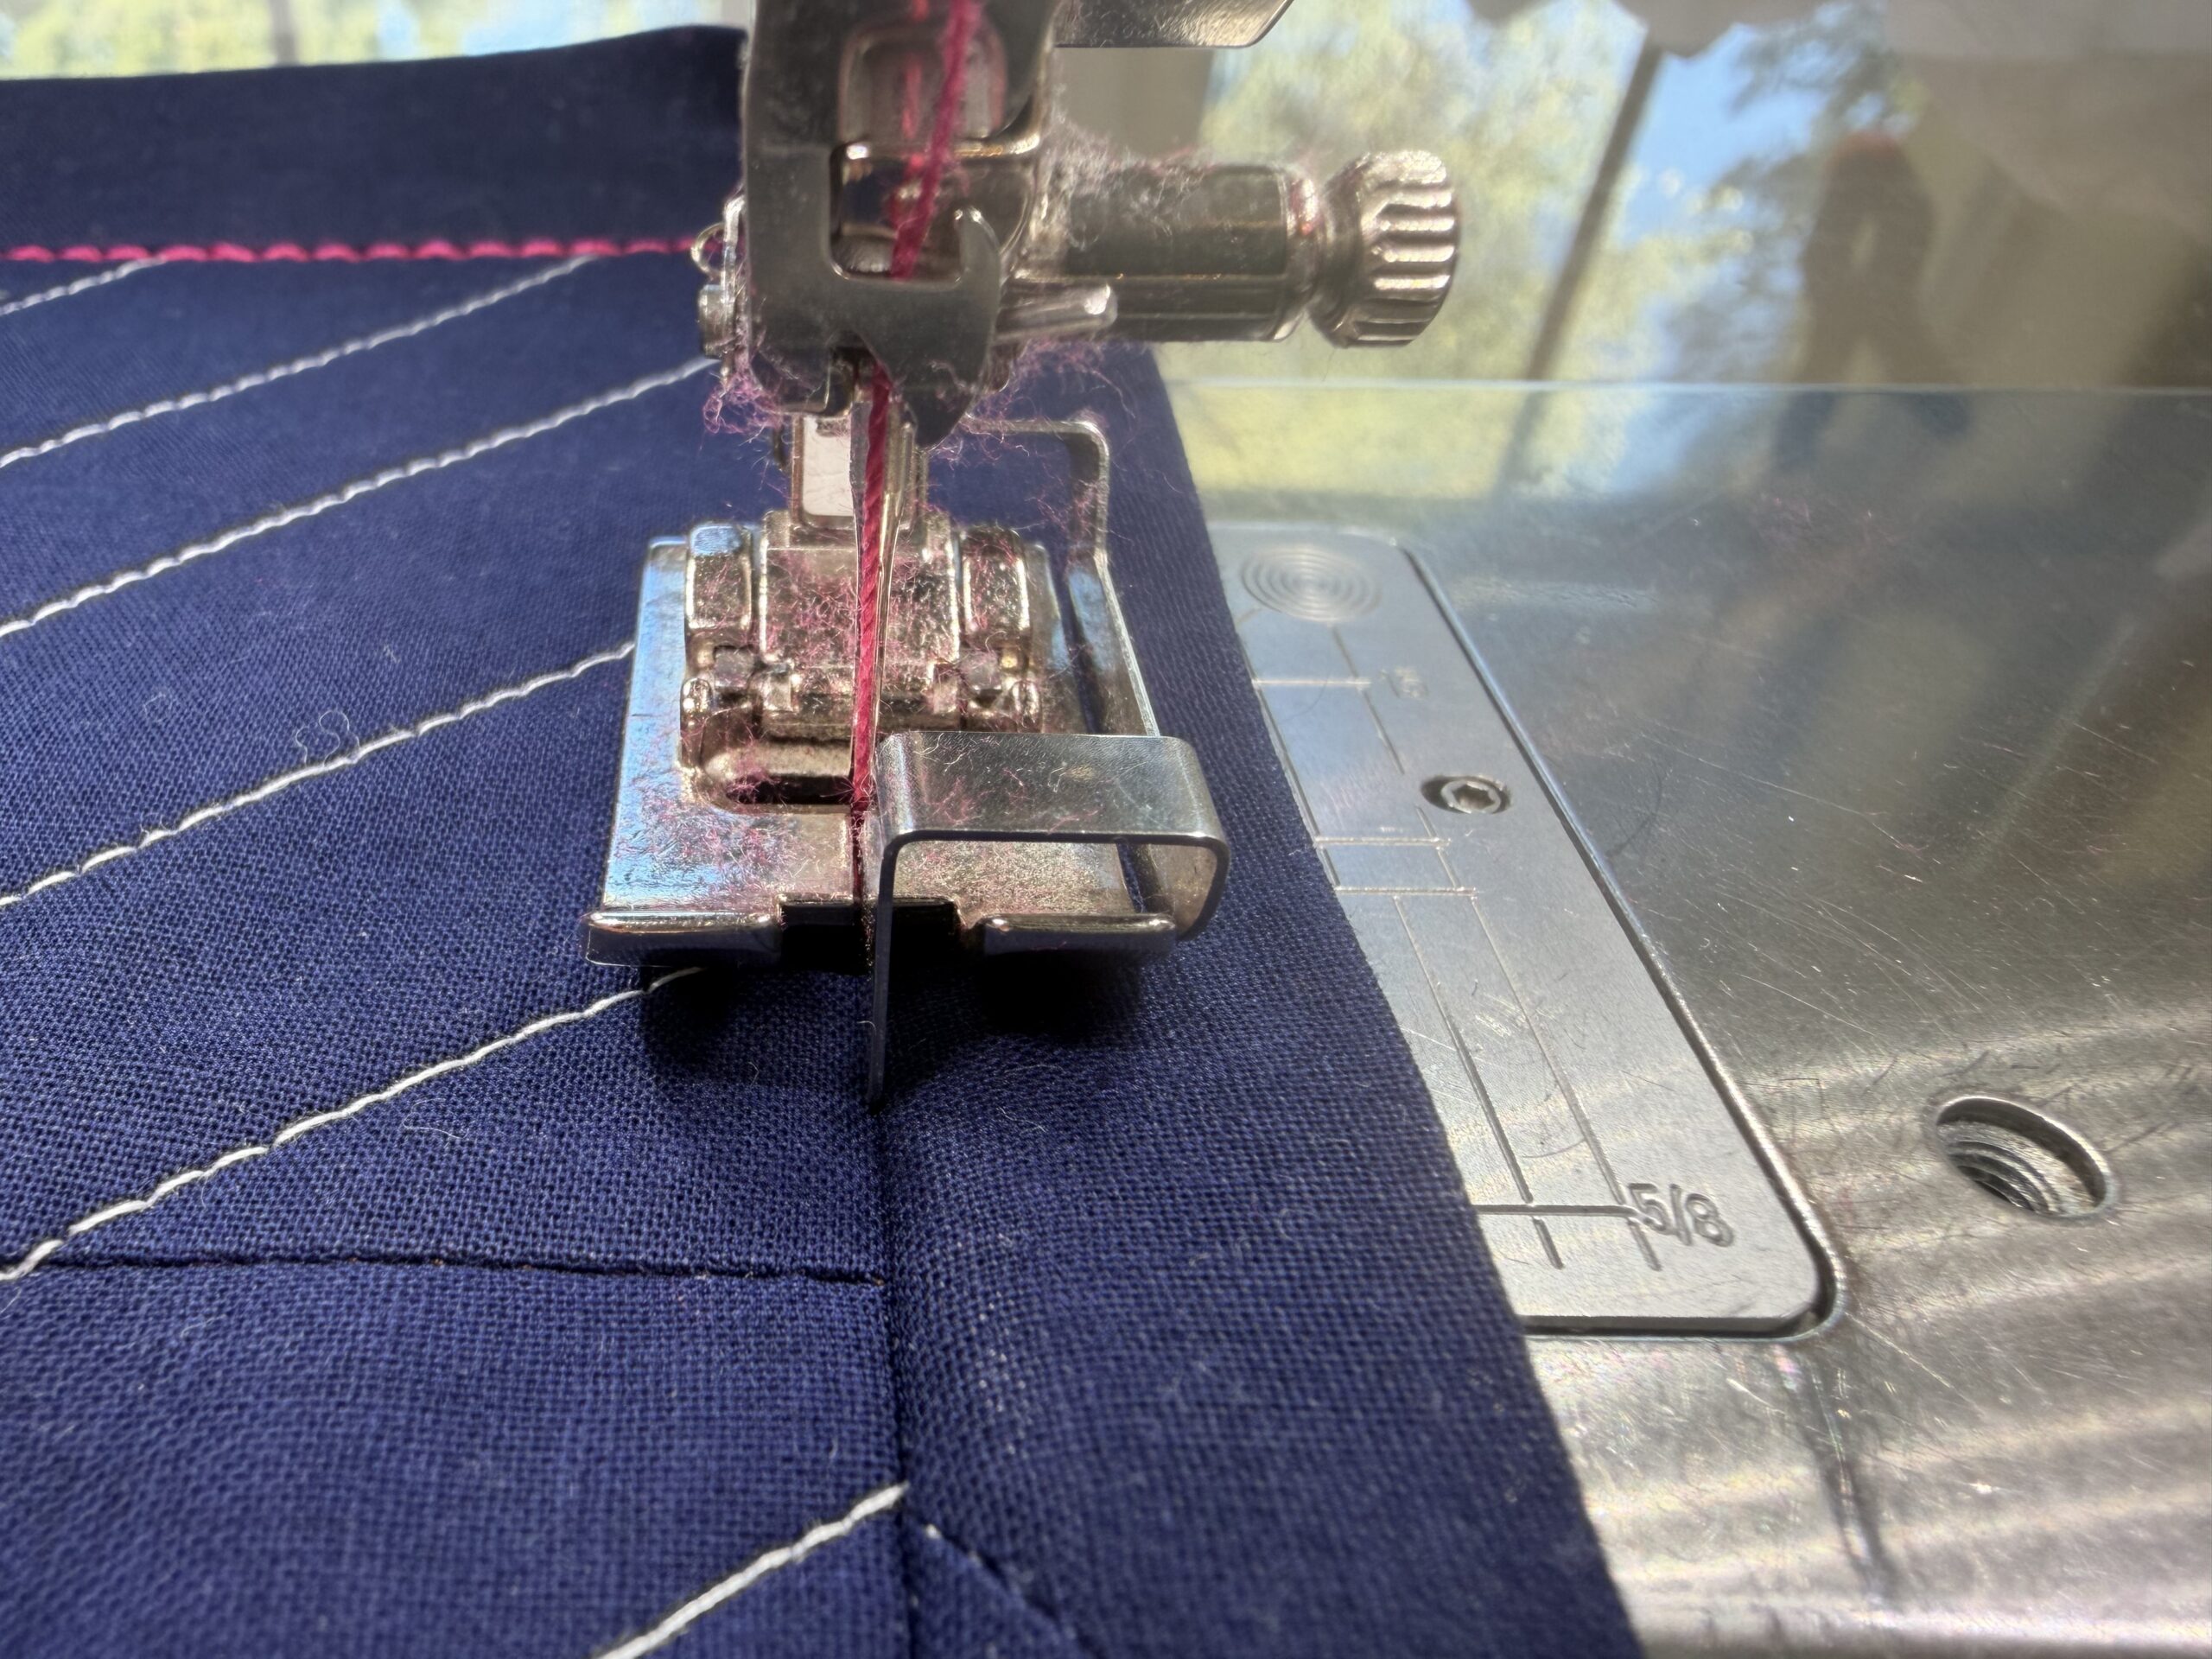
I use this specific ruler for my straight line ruler work because it is almost foolproof. If you do straight line ruler work with this ruler, you will not go back to your old ruler. It’s the bomb.
Originally I was going to straight line quilt just the center, but once that was done, it got mouthy and demanded I do the border too. Good decision.
Note the addition of a line of triple stitched 12 wt Aurifil inside the block and at the binding. I love love that look!
She got demanding again and asked for her center to be trapunto’d. Given that the quilt was already quilted, that was a big ask.
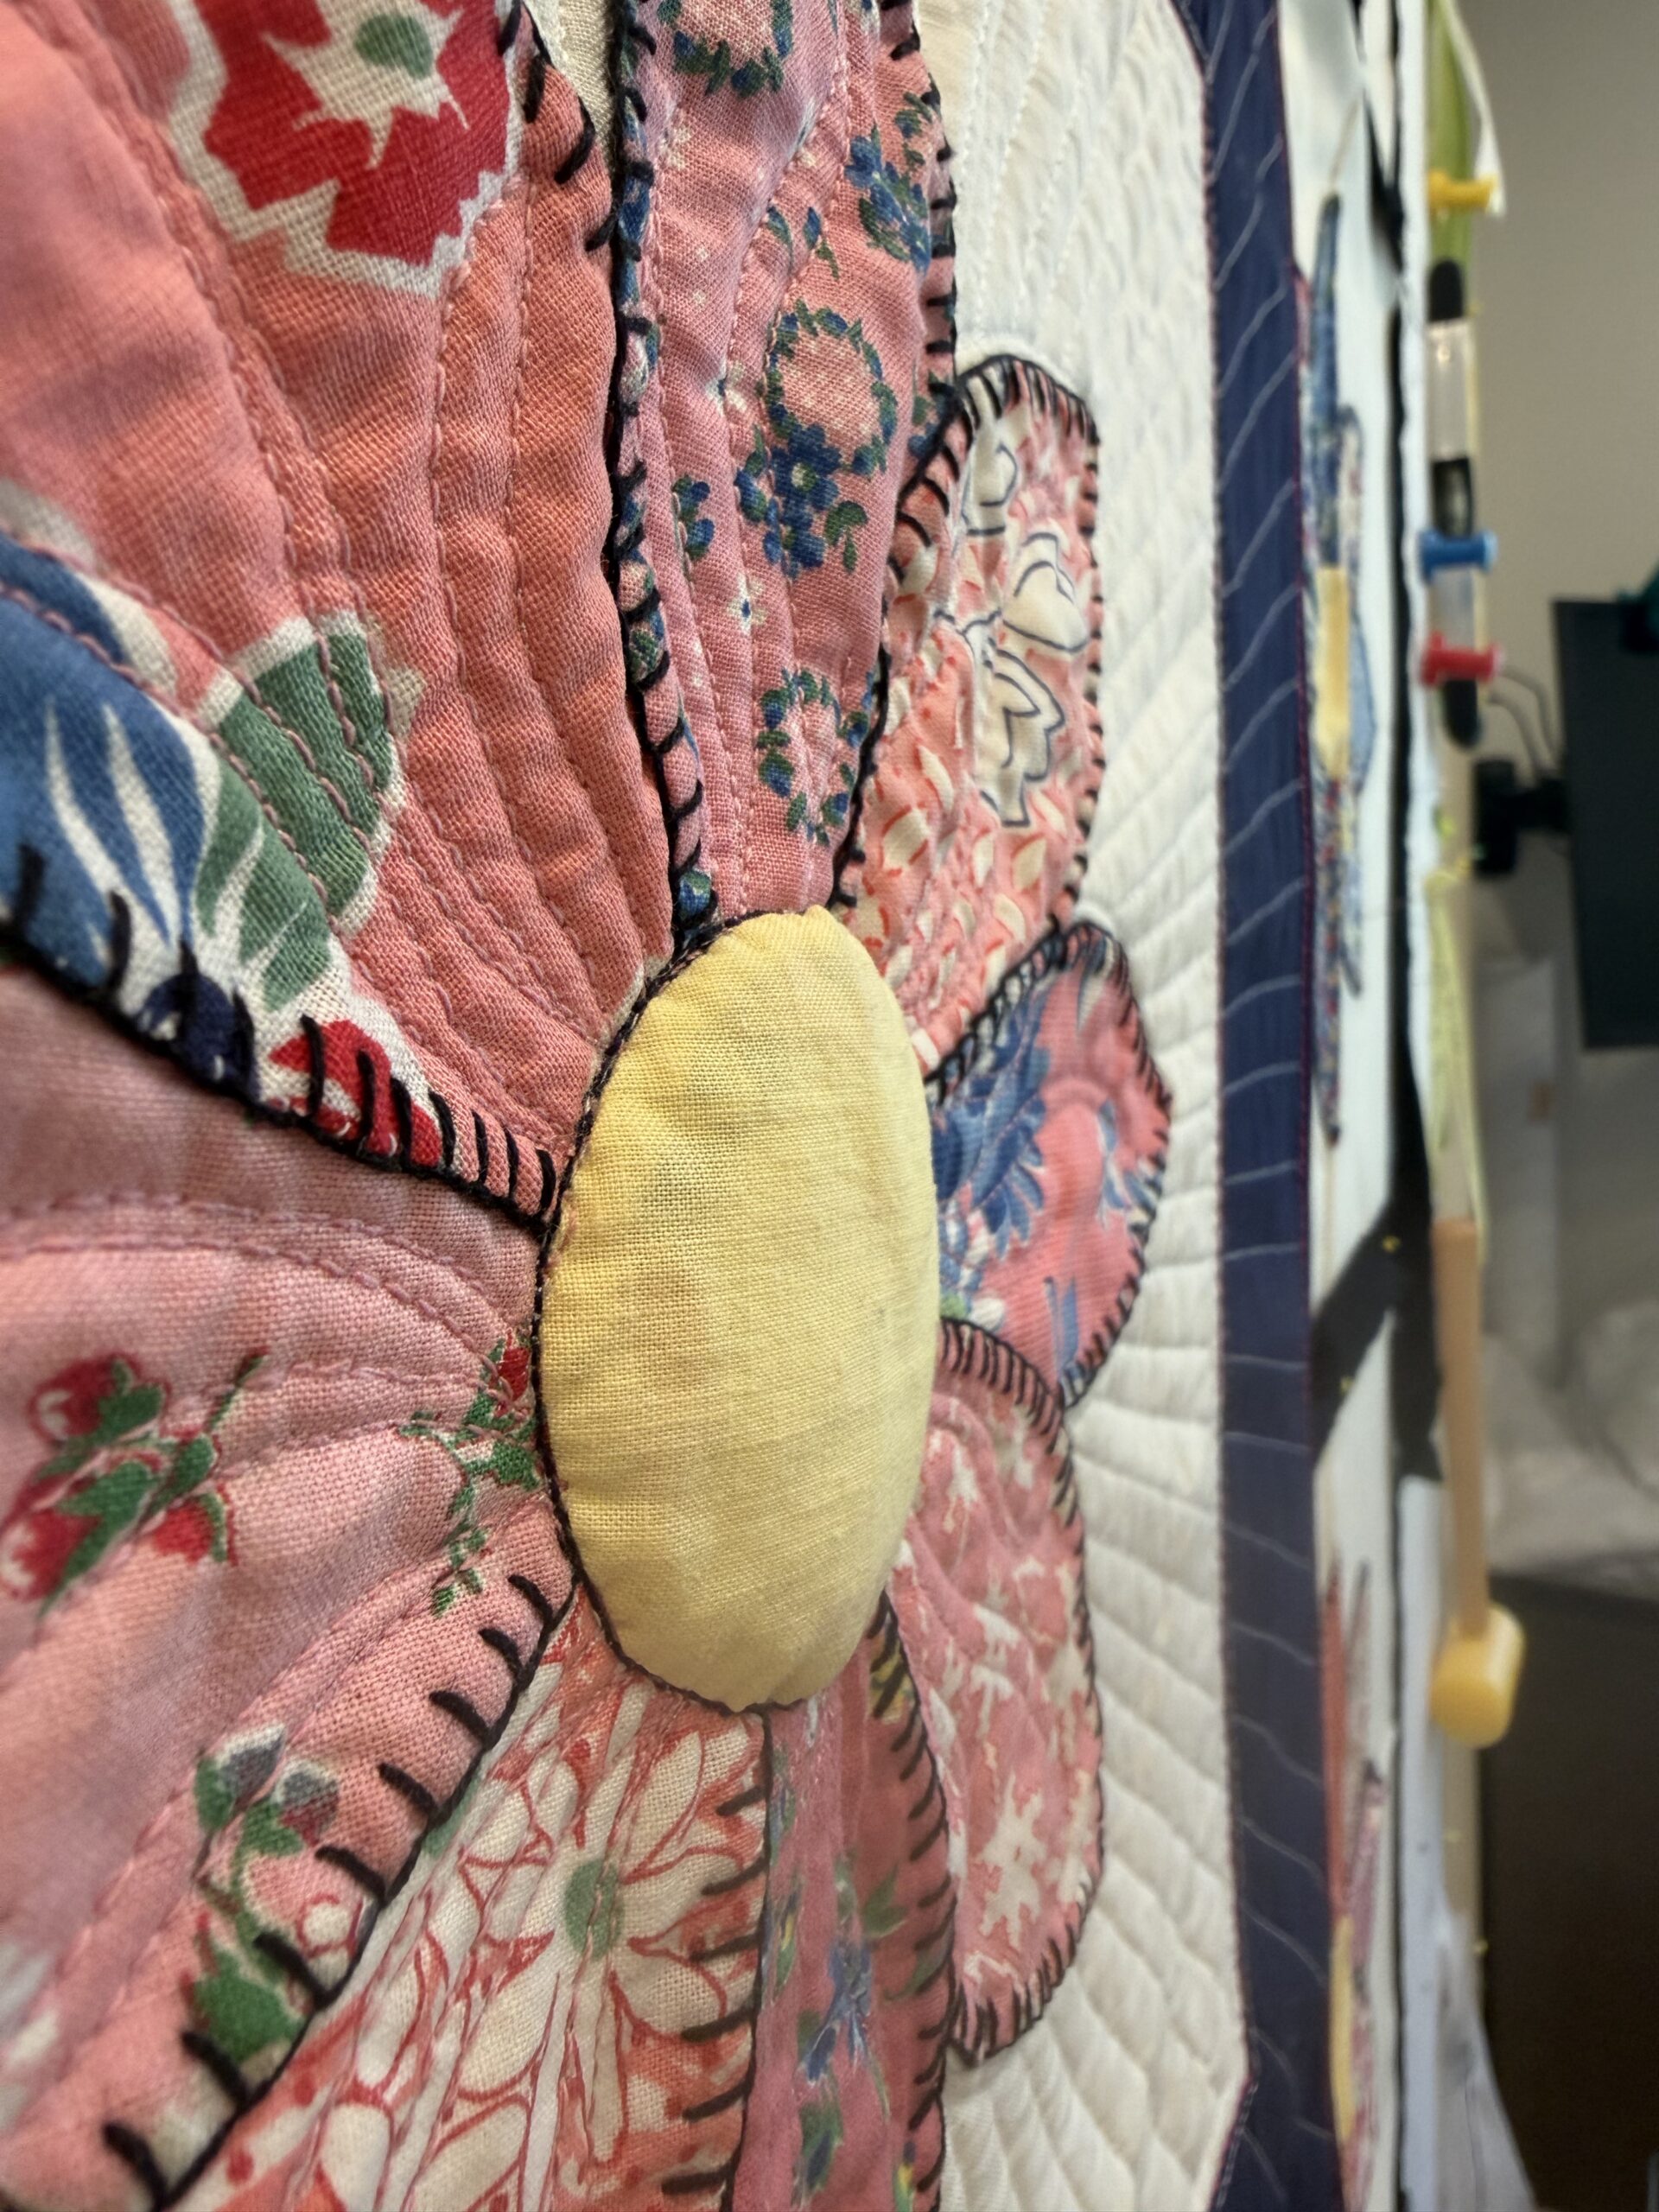
I had to do it the old fashioned way by slitting the back, stuffing by hand, then repairing the wound.
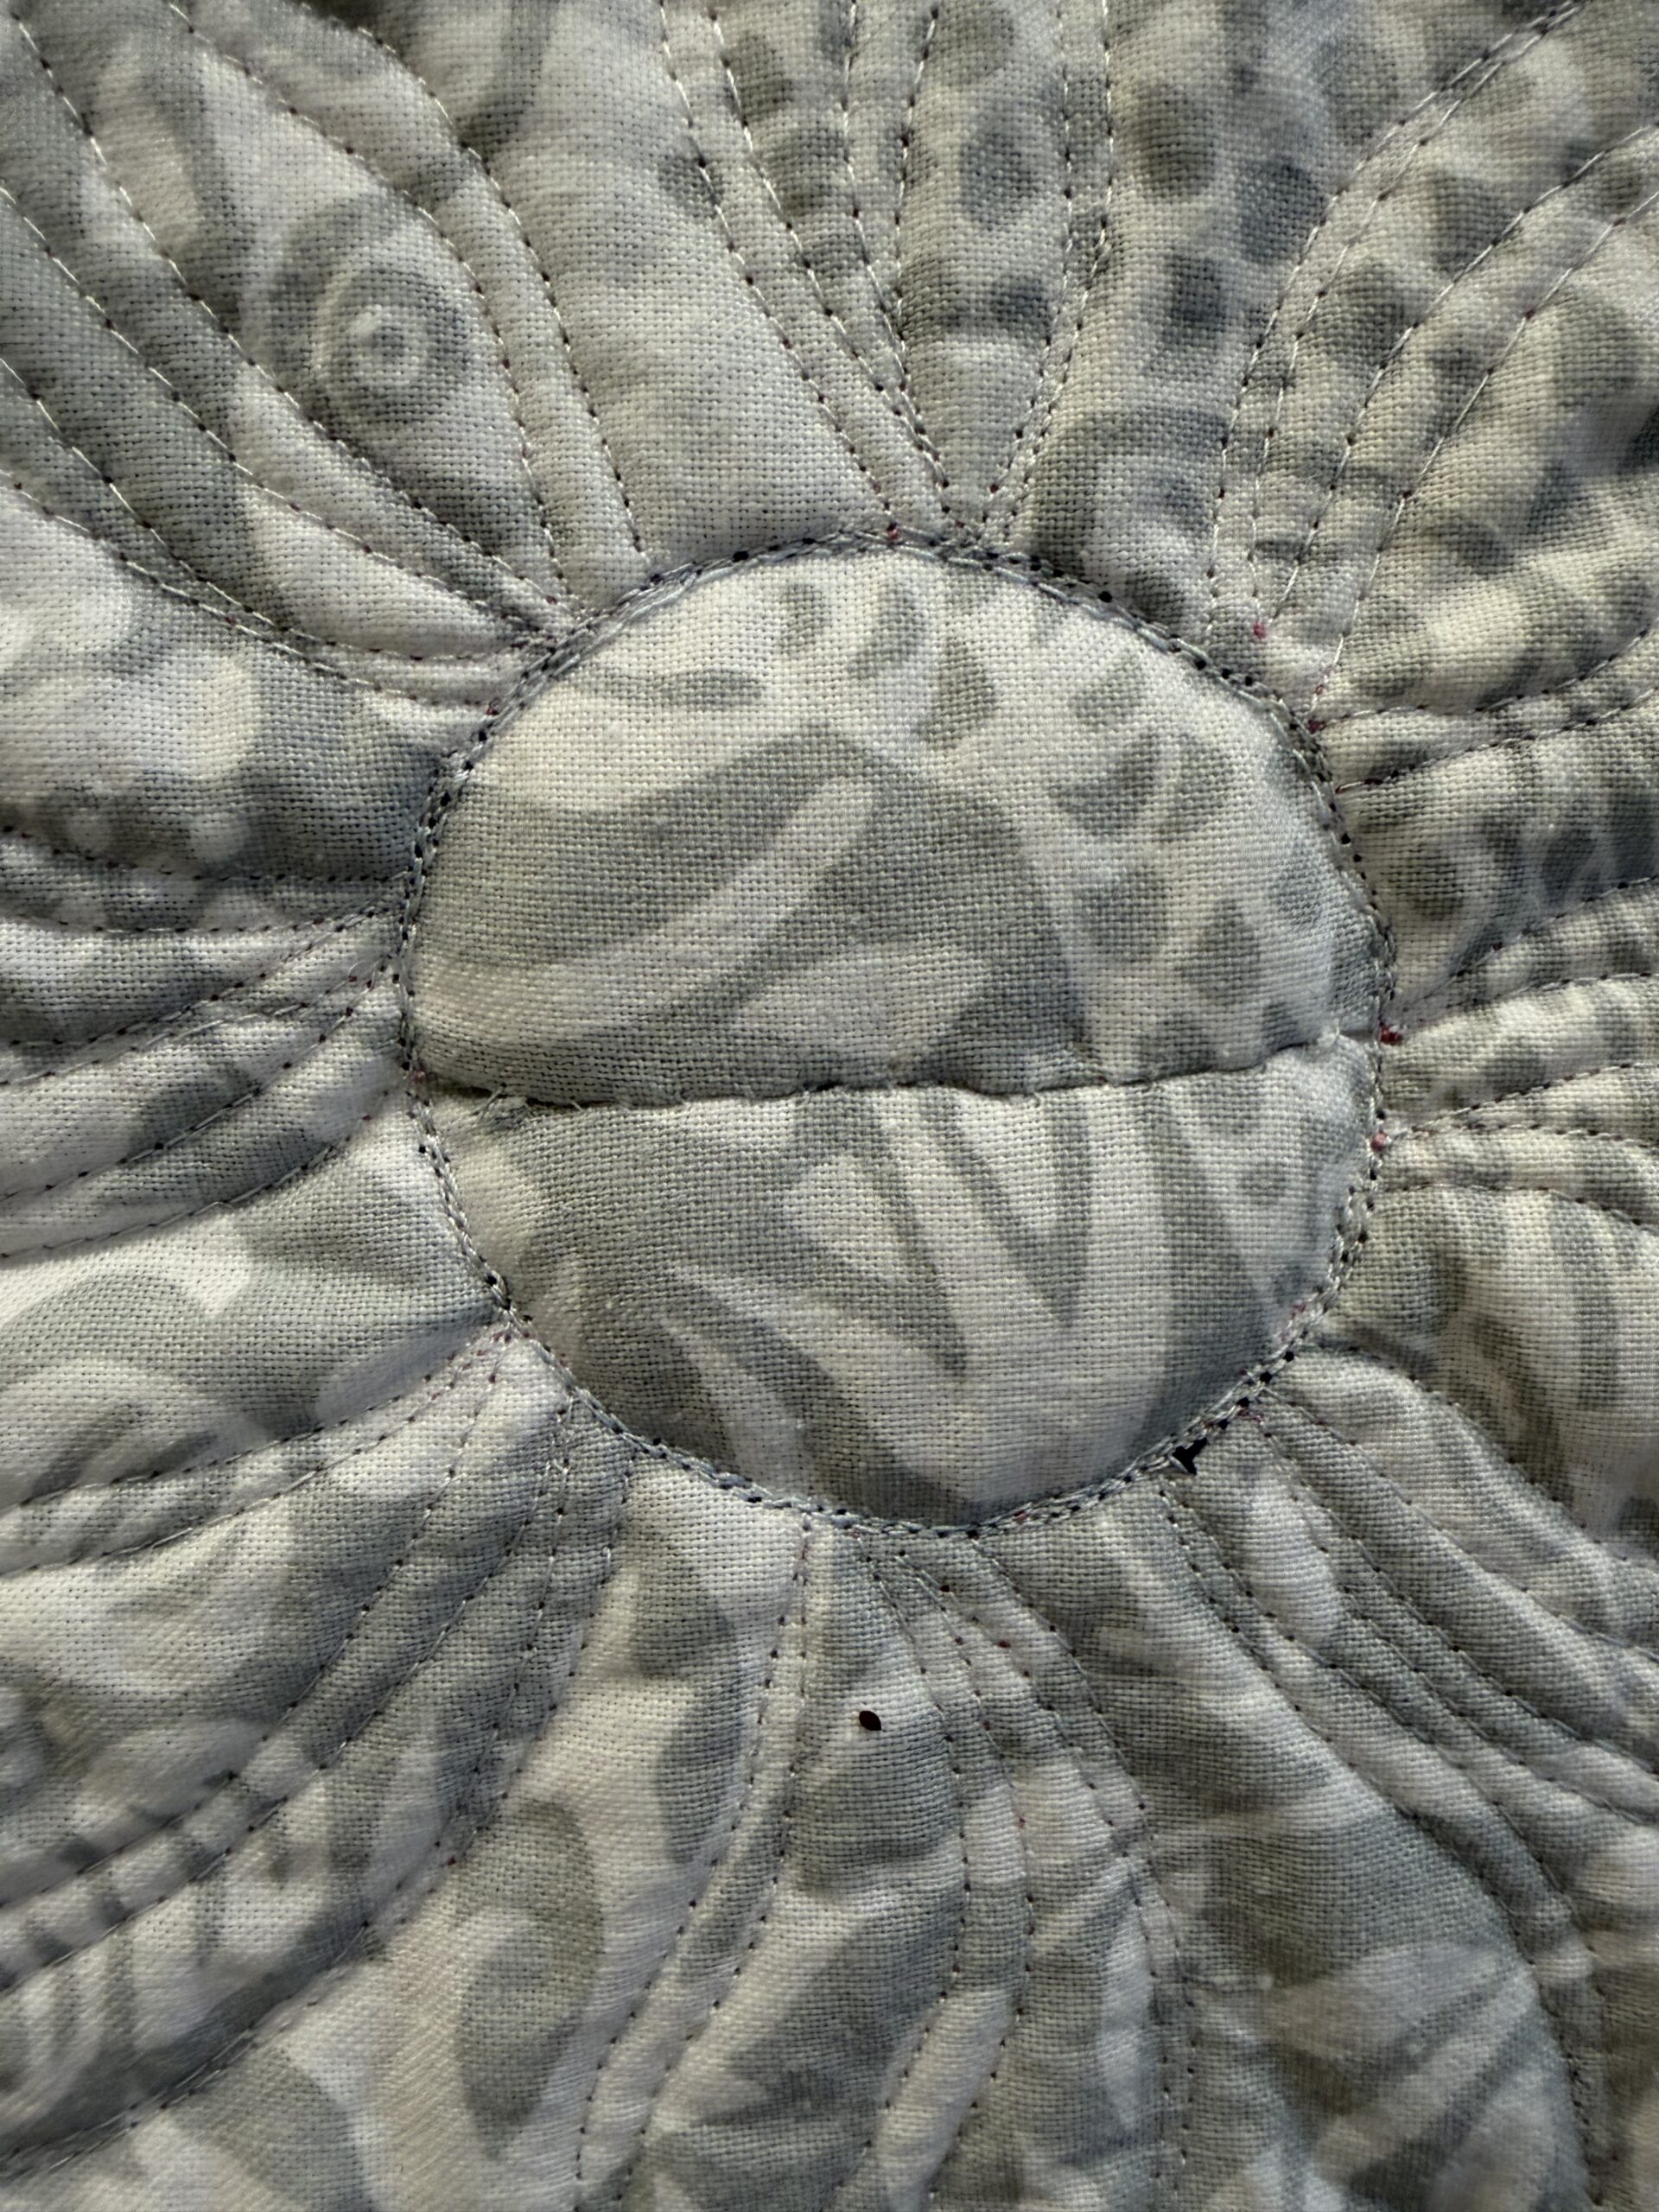
Now we do this by machine of course, and my maybe-it-will-become-a-course will show you how, IF it ever makes it to the light of day.
Here’s the list of what I’m teaching at Grand Rapids and I invite you to join me:
As to my abstract class, I am dithering between these two images from my backyard:
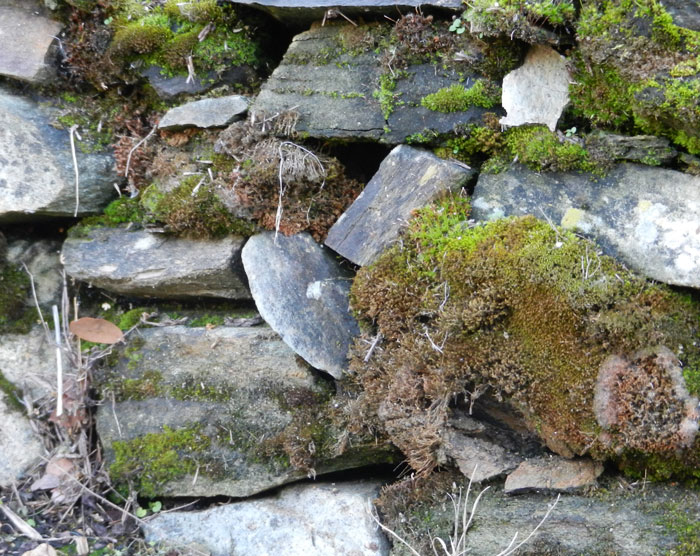
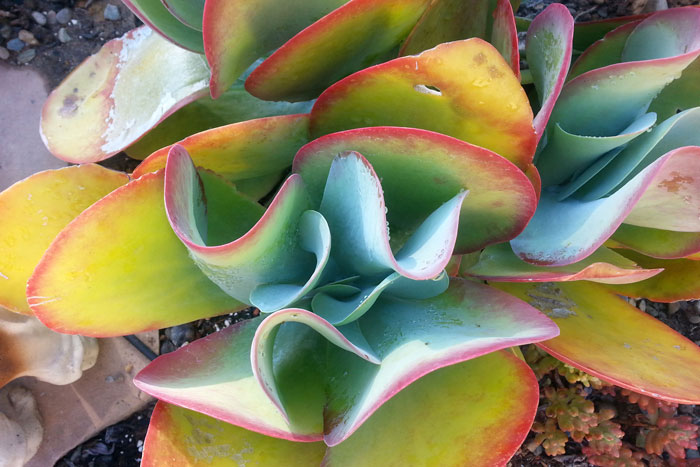
Whichever I decide to work on, I will be greatly simplifying, reducing, changing it. I am sooooo out of my league! It has been an excellent class (live, online) and Brenda Gael Smith is a superb instructor. She is Australian, and yet the course is offered at a North American friendly time, which was super thoughtful of her.
I’ll be linking up:
Nina-Marie’s Off the Wall Friday

Wow! I can’t waitcto see the result of your abstract class. And yiu must give me the source of that “cheater” cloth.
I’ll send an email
Your quilting never fails to amaze me — making a panel look like it was appliqueed for real! I am dumbfounded. And the wee tot will care not a whit for your “boo-boo”. As for the abstract? I have no idea…but that top photo, with the mossy rocks — it calls for a mix of quilting and embroidery (French knots). Possibly done by using needle/wet felting for the rocky substrate, quilting around the shapes and then adding the knots. I know none of that’s your thing, but that’s what it speaks to me. Hmmmm…I might just have to give it a go, with permission to use your inspiration photo…
Oh that photo has “Margaret” all over it! Of course you may use it. I am torn between the two – the mossy one makes me think yes, French knots, hand dyed cheese cloth, beads, subtle metallic thread. So much fun! The other succulent one is in a way more challenging as I will greatly simplify it and it will need some skillful skinny inserts to get what I want. Still deciding.
Congratulations on those finishes, Jenny! That baby quilt looks amazing; I would never have guessed it was cheater cloth if you hadn’t ‘fessed up, and I’d say that was CONSIDERABLE time savings over the appliqué that it could pass for easily! So, about the trapunto — I’m familiar with your usual method, but I have seen another way to do trapunto with yarn after the quilting is finished, a method that doesn’t involve cutting into the backing fabric. I have not had the right project to try it out yet but wondered if you had ever come across this before: http://quiltsalott.blogspot.com/2011/03/trapunto-by-hand.html. I saw it somewhere else, probably in one of my hoarded quilting books.
That would be boutis and yes, no cutting. But the easiest way is by machine and that is the course I hope to make.