
A finish!
Yes, I ghosted you all last week. I forgot it was Labor Day weekend and I had lots to do to prep for a visit from my Grands! I doubt I will do a newsletter this weekend. I’ll miss again. I am teaching and have a lot of prep work to do for an upcoming online class.
So, the Grand’s visit:
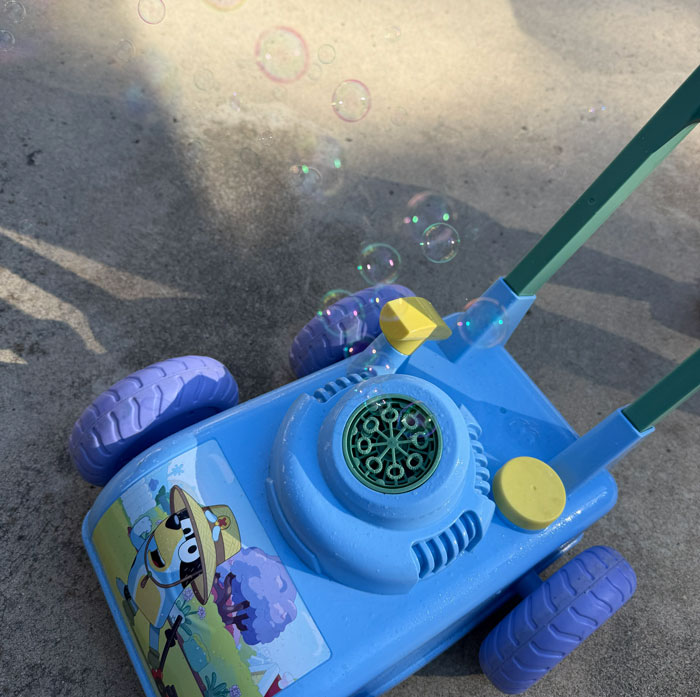
This is what we do at 2!
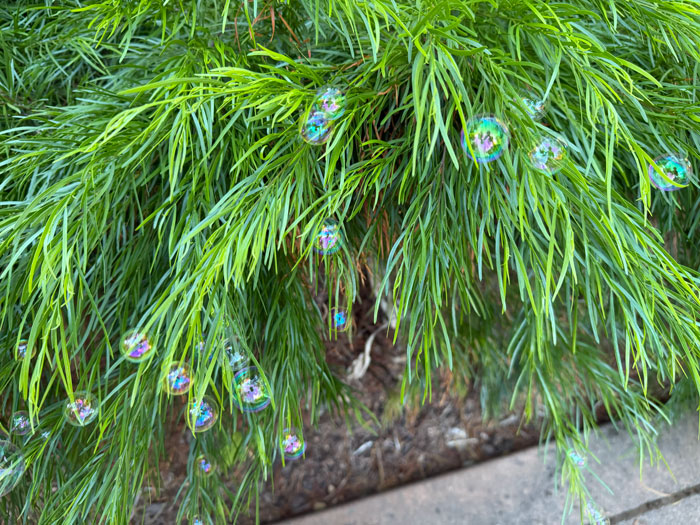
The landscape receives the joy!
I just love shoe photos!
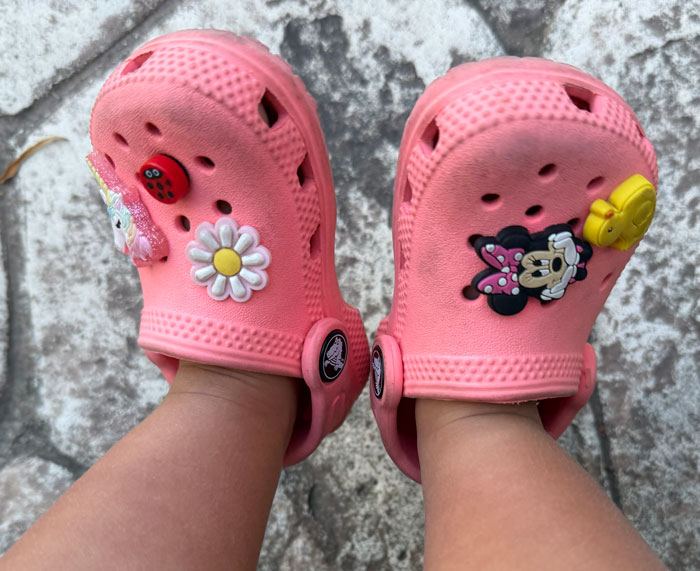
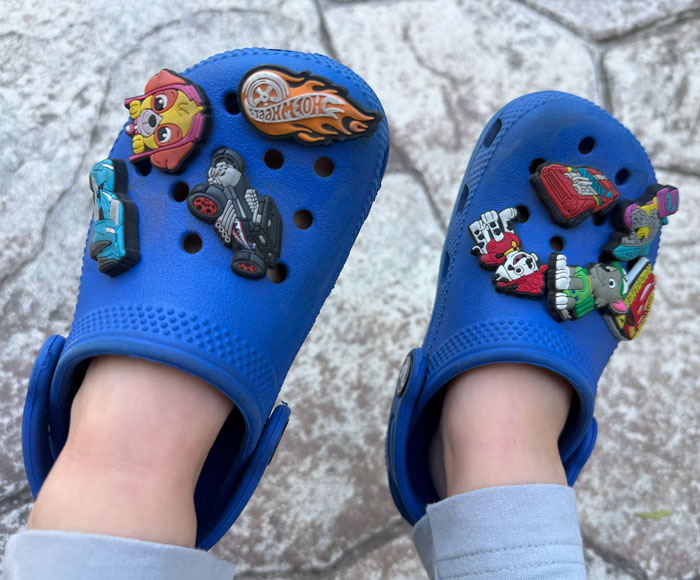
On to my abstract piece…
I am in a time crunch and this will be an abbreviated account of all that I did. This piece consumed me for 5 weeks and I am relieved it is done. I enjoyed the process and all that I learned, but it also was difficult for me.

To give the background, I am in the process of earning a certification to judge quilts through the NACQJ and one of the requirements is to work through a specific book (not for me!), or take a multi-day course with instructor feedback.
I chose to go waaaaay outside of my comfort zone and take Brenda Gael Smith‘s online Abstract in Action course. The course was excellent! Brenda was able to take me, who can barely define abstract, to a place where I understood and could create an abstract piece.
Her slide show took us through the history of abstract, showed us many examples of abstract, from pure abstraction to a more realistic version of abstract. I was able to learn from the other students as well as from Brenda.
Each student took what they learned and created their own piece. I worked on my own and then attended the optional zoom where we each presented our piece in a formal manner, within a timeframe, using design terms and descriptions. We had the option to take critique or not. I took critique and I pretty much left my piece as it was.
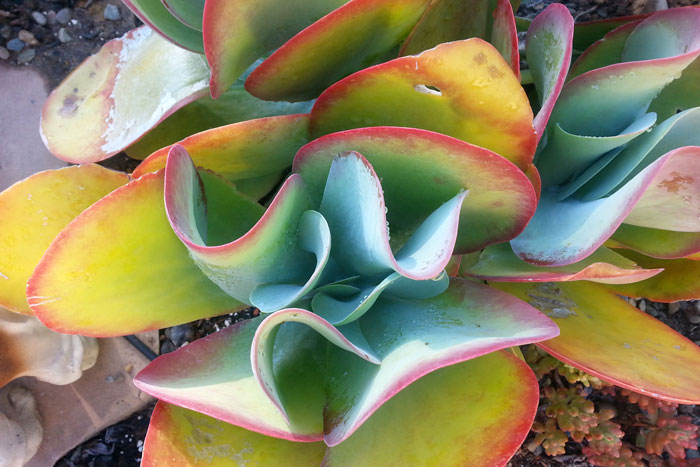
My journey was long and circuitous! This was my inspiration photo:
This is my finished piece!
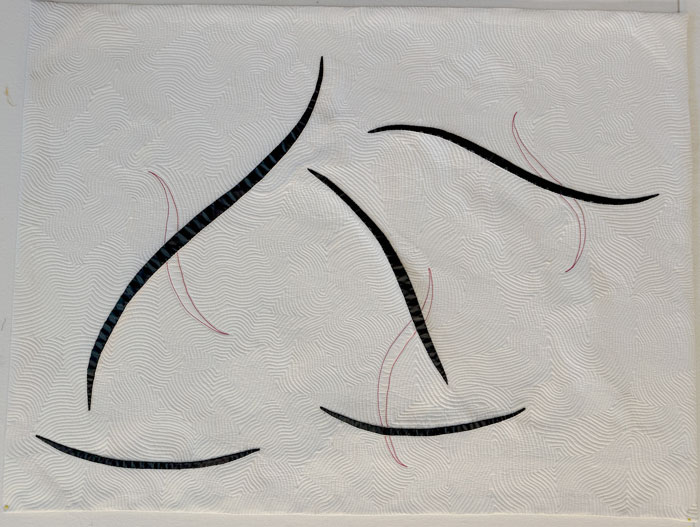
I know, how did I get there from that inspiration photo? It was very hard work.
I am going to give you the Cliff Notes version. I took that photo and cropped it to this:
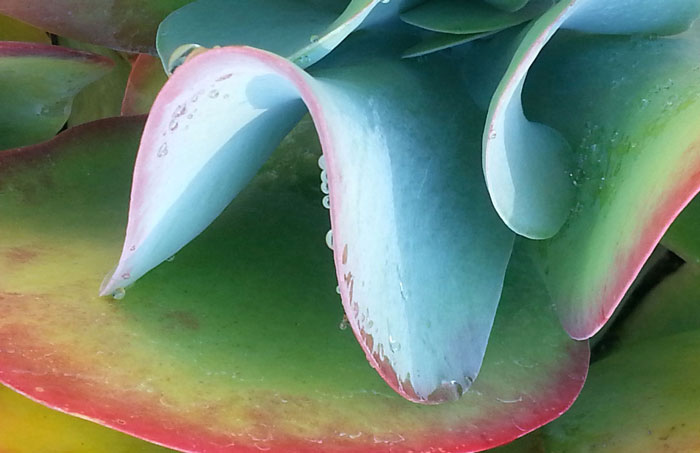
What I liked about this was the colors, the curves, and those fabulous water droplets. Stay with me; I know, virtually none of that made the cut!
I started out with thinking I could do a pieced background and lay the design atop. So I took random scraps and made a pieced background. Then I experimented with a curved insert:
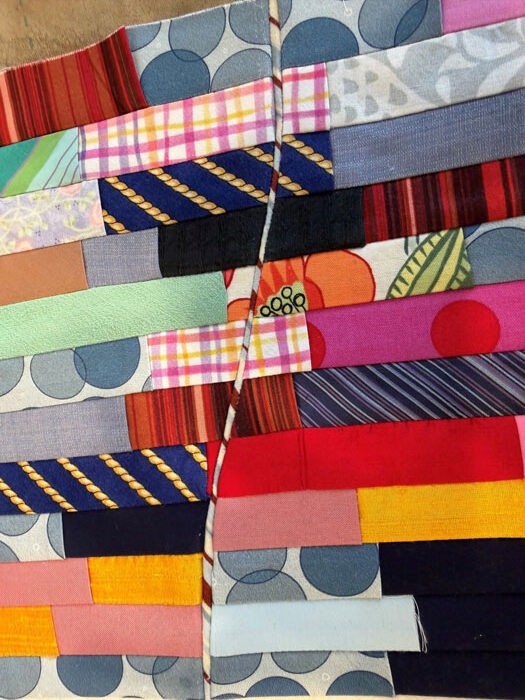
Yes, it’s butt ugly because I used whatever scrap was near my hand, but the point was to experiment to see if I wanted a pieced background. It was very clear that with all those seams, a curved insert was going to be insane.
I also tried to create the feel of water droplets on the succulent:
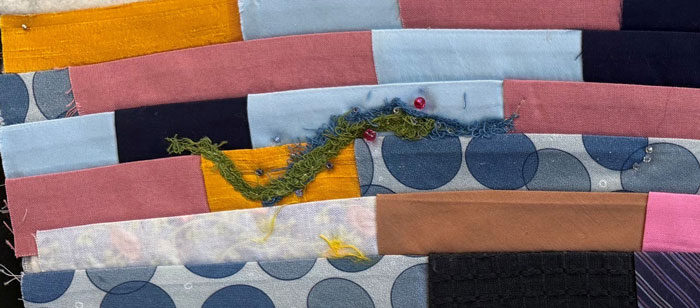
Again, ugly background, but I liked the effect. This was hand dyed cheese cloth with added beads and metallic threads in there. I didn’t have clear or silver beads; again, this was just an experiment. You can’t see the glisten of the metallic threads in there. It was pretty cool actually.
I worked for many, many hours on curved inserts. I decided I wanted to incorporate the blue/green and pink of the succulent so I tried it straight piecing first to test the colors. (The following group of photos are small because I could not find the original).
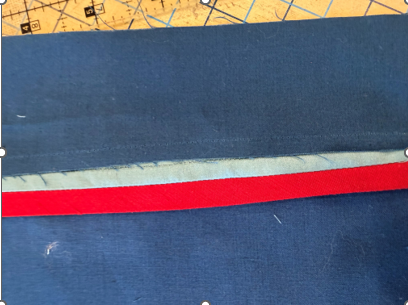
Oy, that is gorgeous silk, but that color combo went “athletic wear”. Who knew?
If you have never tried to do this, you can’t imagine how difficult this was. Single straight, skinny insert, easy peasy. I did not want thick inserts. Now, curve that insert, up a notch. Add another color, you’ve really amped it up. Now, put a point on each end….rocket science. You have a LOT of fabric in a small area. This is what it looked like from the back!
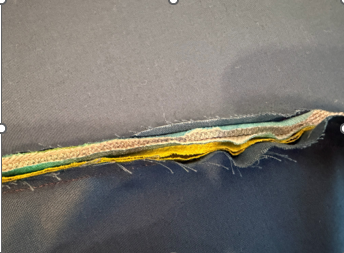
I used the last of some precious hand dyed silk to make this set.
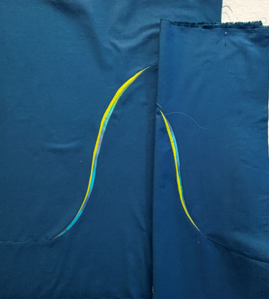
I am proud that I got those to lay flat. I am not a piecer. But meh, just not the impact I wanted at all.
This shows most of the curved insert trials using random fabric and represents soooo many hours:
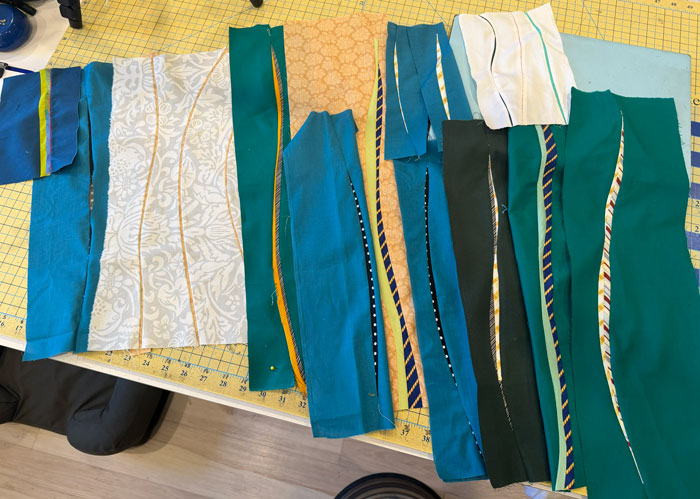
Well I didn’t even know if my idea was going to work and I only had a little bit of that beautiful silk from the photo above, so I tried a general layout first. Brenda suggested doing black construction paper mock-ups to test our layout:
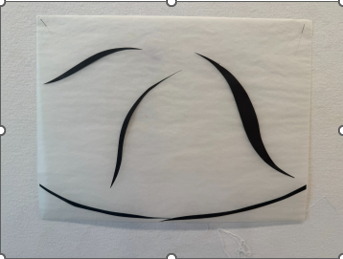
Okay, kinda liking that. But how am I going to fit all that together since each curve had to be an individual “block”? So I threw Some test piece on the design wall:
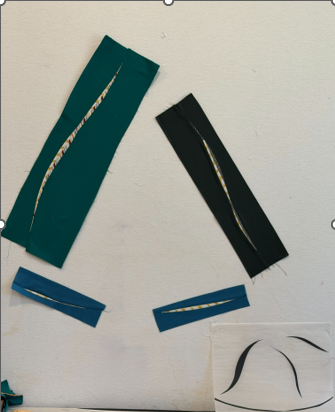
We are back at meh. So, maybe I will just go with the black and white thing??? So that is what I did. I wanted the black bits to be sharp and clear. Applique might be a little mushy. I didn’t want to fuse as I wanted a more elevated look. What would give me that sharp, crisp edge and point? I scrounged through my stash and found some faux leather. I tried it on a scrap first.
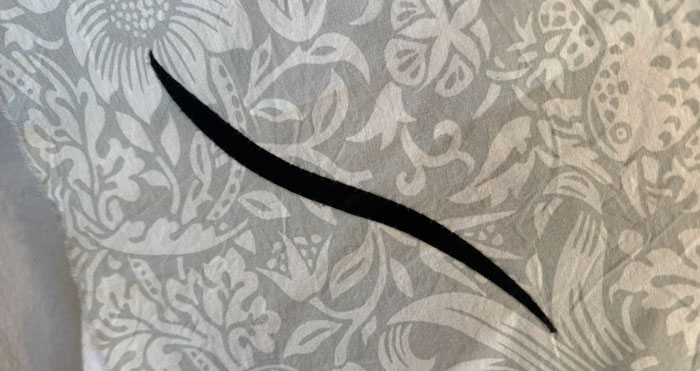
Bingo! Now, how was I going to quilt it? I tried a variety of plans offline on a scrap piece.
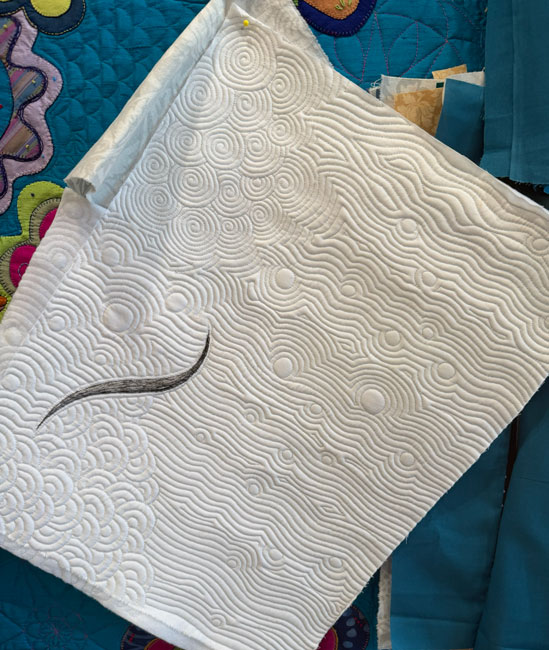
Again, meh. I ultimately chose what I call “Random Echo” and it worked! I put in a few ghost curves in pink.
I call it “Untethered” because it is soooooo untethered! It is done. I can live my life again. My To Do list is long!
I’ll be linking up:
Nina Marie’s Off the Wall Friday!

Love it. Thank for sharing your journey. The negative space is a calming palette for your Freeform shapes to nestle and invite the viewer in to explore and enjoy.
Oh Kathy thank you! You have a wonderful way with words!
Great synopsis of your process. I admire your tenacity.
Thank you Karen! I HAVE to finish things.
How did you end up attaching the leather strips to the background?
I buttonhole stitched them, taking just a little bite of the faux leather, then triple stitch outlined them with 12 wt black thread to further emphacise them.
It’s amazing!! 🤩
Thank you Carol!
Wow, what a journey. The final product is a knockout. thanks for sharing it.
Oh so glad you enjoyed it! I still don’t know what to think about it.
Love it. !!!! It is brave and beautiful. Funny enough, I recently went through a book experimenting with freehand curves. It was more fun and faster than I thought it would be. Inserting into a curve is a work in progress. Argh. Luckily mine was a gift for a chemo patient friend. She won’t care, as long as it’s warm, right? I also found that free-motioning inside the curves was kind of “freeing.”
How fun! I can do gentle free hand curves, but putting a terminal point at the end was beyond my paygrade. Your friend will be abundantly blessed by the gift of a hand made quilt by you!